Free shipping from

    Get a 5% discount on your first order

    Warranty up to 5 years

    Contact
Image
Show
32

of 71 products

Sort
Best Sellers

Our featured products from Tri-proof LED lights
Show
32

of 71 products

Search in this category

Prime

Selling price

£

£

Has discount

Power (W)

W

W

Tube Length

  • 21
  • 14
  • 11
  • 2

Material

Screw

  • 2

Detector

  • 2
  • 1

Lumens

lm

lm

Beam Angle

º

º

Brand

  • 16
  • 5

Dimmable

  • 1
  • 1
  • 1

Special

Brands related to this category

About Tri-proof LED lights

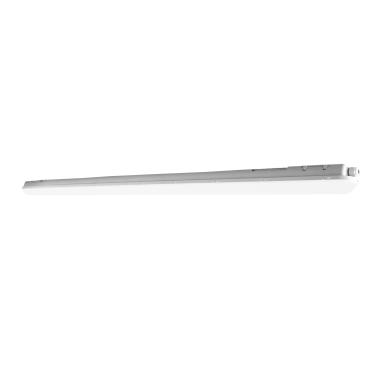
At Ledkia we have a wide variety of models of LED waterproof screens to choose from according to power, luminosity and size criteria.

Thanks to their production with polymeric materials, tri-proof LED lights stand out for their durability over time compared to other lighting solutions.

Due to their high degree of impermeability, they are also an excellent option in spaces that withstand high levels of humidity, water and dust and therefore need to be resistant to external agents.

But these are not their only benefits, as we have models that can integrate LED tubes and other models in which the LEDs are already integrated, facilitating assembly. This variety of options makes them ideal solutions for providing light for indoor and outdoor installations with different needs: warehouses, tunnels, factories, etc.

What are the advantages of a tri-proof LED light?

The main advantages of tri-proof LED lights are:

  • Installation is really easy and is limited to a few clips to fix it to the surface chosen as a support.
  • Their IP65 protection makes them water and dust resistant.
  • Their polycarbonate casing protects them and makes them highly resistant to impacts.
  • Their energy savings can be up to 50%.
  • They are environmentally friendly and completely free of toxic substances.
  • Their long lifetime can be up to 5 times longer than their fluorescent counterparts.

How to install a tri-proof LED light?

Generally speaking, the steps to follow in the installation of a tri-proof LED light are as follows:

  1. The first step is to have the screen to be installed and all the necessary tools: drill, screwdriver, 6mm drill bit, 6mm dowel, screws and pliers or wire strippers.
  2. Cut off the electrical current from our main switchboard, you can remove only the lighting circuit breaker or the main switch of the area where you are going to install the luminaire.
  3. Open the luminaire and measure the distance between holes.
  4. We will look at where the installation cables are and where they enter our screen.
  5. Once we know where the connection will be made, it is time to mark on the ceiling, with a pencil, where the luminaire will be placed.
  6. We take a drill and drill the holes, then we will place the plugs.
  7. We then screw in the clamps and fit the watertight screen.
  8. We connect the cables of the luminaire to those of the electrical installation (phase to phase, neutral to neutral, etc...). They are usually the same colour.
  9. Connect the power supply and check that everything is working correctly. If for any reason it does not work, check the previous connection steps.