
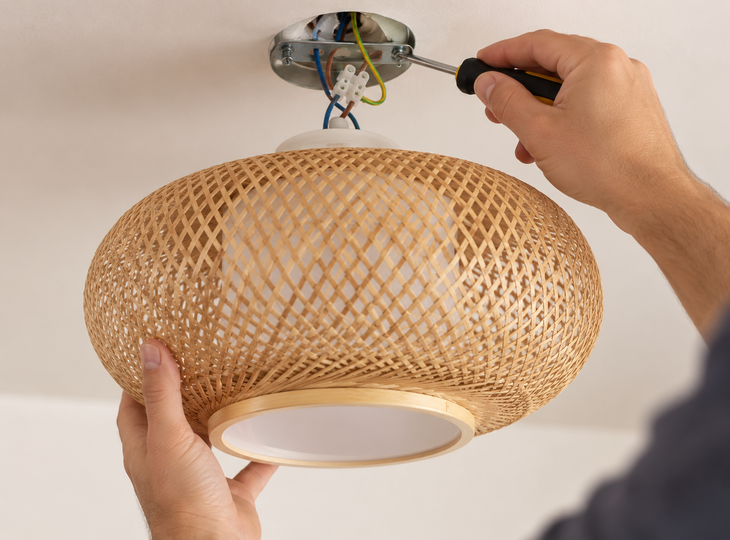
Fitting a ceiling light may seem like a simple task until you remove the old light fitting and find several wires coming out of the ceiling. Blue, brown, black, yellow and green… Which one corresponds to each connection? What happens if there are three wires? What if there are four?

Before making any connections, it is essential to correctly identify the wires in the ceiling light and understand the function of each one. Connecting a wire to the wrong terminal can cause the light fitting to malfunction, trip a circuit breaker in the fuse box or, in certain situations, create an electrical hazard.
Table of Contents
- What wires does a ceiling light have?
- How to identify the wires in a ceiling light
- How to install a ceiling light with 3 wires
- How to connect a 4-wire ceiling light
- What happens if the light fitting only has two wires?
- Common mistakes when connecting a ceiling light
- How to connect the wires of a ceiling light safely
What wires does a ceiling light have?
In a standard domestic installation, a ceiling light essentially requires a power supply to operate. In many cases, it also includes an earth connection.
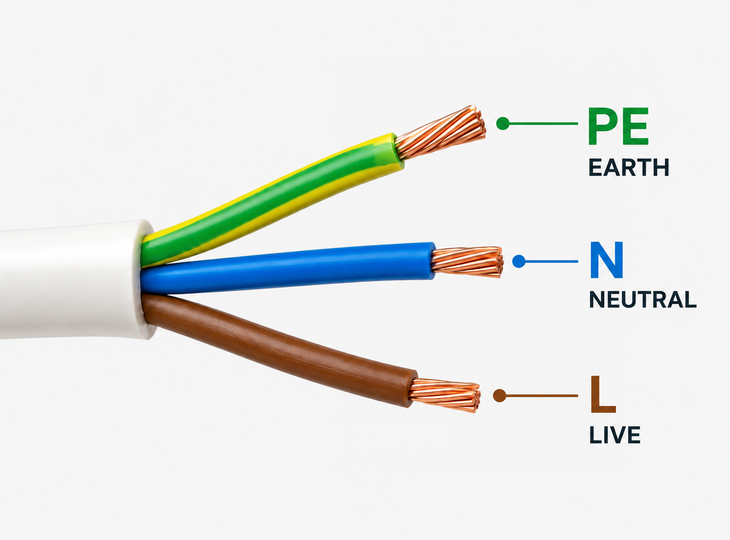
For this reason, it is common to find three types of wires: live, neutral and earth.
| Cable | Usual colour | Function |
| Phase | Brown or black | Carries the current to the light fitting |
| Neutral | Blue | Enables the electrical circuit to be closed |
| Earth | Green and yellow | Protective conductor |
| Other phases or neutral wires | Black, brown or grey, depending on the installation | These may form part of additional circuits or switching systems |
These colours serve as a general guide for installations. However, an older property may use different colour codes, and an installation that has been previously modified may not follow the usual colour-coding system.
Therefore, finding a blue wire should not be reason enough to automatically assume that it is the neutral wire.
How to identify the wires in a ceiling light
Before connecting a new light fitting, it is advisable to check both the wires coming out of the ceiling and the connections available on the light fitting itself.
Many modern light fittings feature a small terminal block or connector marked with labels such as L, N and the earth symbol.
The letter L usually corresponds to the live wire, whilst N identifies the neutral. If the light fitting requires an earth connection, there will also be a specific terminal for the protective conductor.
In other light fittings, the wires emerge directly from the body of the fitting. In such cases, it is common to find a brown wire for the live, a blue one for the neutral and a green-and-yellow one for earth. However, not all light fittings have three connections.
Some models feature double insulation and are designed to operate without an earth connection. This type of light fitting is usually identified by a symbol consisting of two squares, one inside the other. If the ceiling has an earth conductor but the light fitting does not have a terminal to connect it to, this conductor must not be connected to either the live or neutral wires. It must be correctly insulated within a suitable connector.
How to install a ceiling light with 3 wires
If three wires are coming out of the ceiling and you have already correctly identified the function of each one, the connection is usually straightforward: each wire must be connected to the corresponding terminal on the light fitting, following the manufacturer’s instructions.
Before making any connections, switch off the circuit at the fuse box and check that there is no live voltage. Also ensure that the wires are securely fastened, with no exposed copper and no strain on the connections.
If you need to carry out the full installation of the light fitting, including removing the previous model, fitting the bracket and securing it in place, see our step-by-step guide on how to fit a ceiling light.
Recommended products
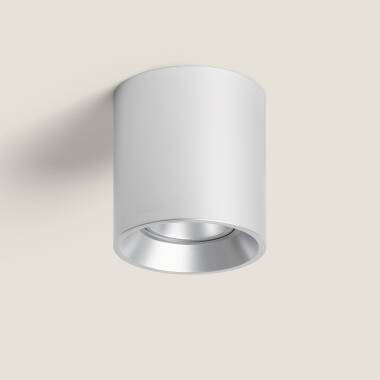
In Stock, delivery in 15-20 days
5.29 £
Quartz White Ceiling Light
View product
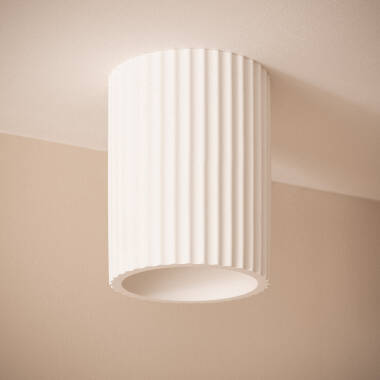
In Stock, delivery in 15-20 days
15.89 £
Colum Plaster Ceiling Light
View product
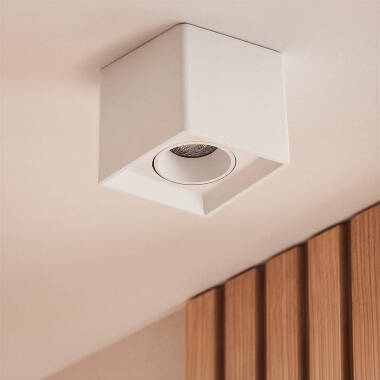
In Stock, delivery in 24/48h
5.29 £
Jaspe White Ceiling Light
View product
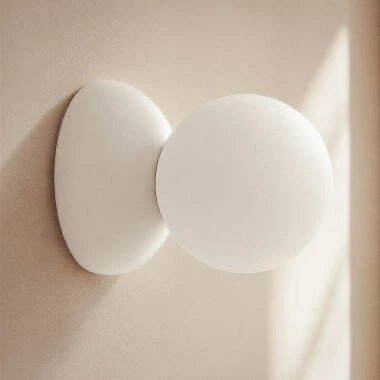
In Stock, delivery in 24/48h
17.99 £
Deyla Plaster Ceiling Light
View product
How to connect a 4-wire ceiling light
One of the most common issues that arises during installation is when you remove the old light fitting and find four wires instead of three.
This naturally raises the question: how do I connect a 4-wire ceiling light if the fitting only has two or three connections?
The answer is that the number of wires you find on the ceiling does not necessarily have to match the number of connections on the light fitting.
That fourth wire can serve different purposes depending on how the electrical installation has been designed.
For example, it could be a second return wire from a double switch. It may also form part of the wiring that continues to another light fitting or be part of a different configuration carried out during the installation of the property.
Therefore, the four wires should not be connected directly to the light fitting simply because they are there. You must first determine the function of each one.
Four wires with a two-way switch
A fairly common situation arises when an old light fitting allowed different groups of bulbs to be switched on independently.
Imagine, for example, a ceiling light with six bulbs divided into two groups. A double switch could allow you to switch on three bulbs with one button and the other three with the second.
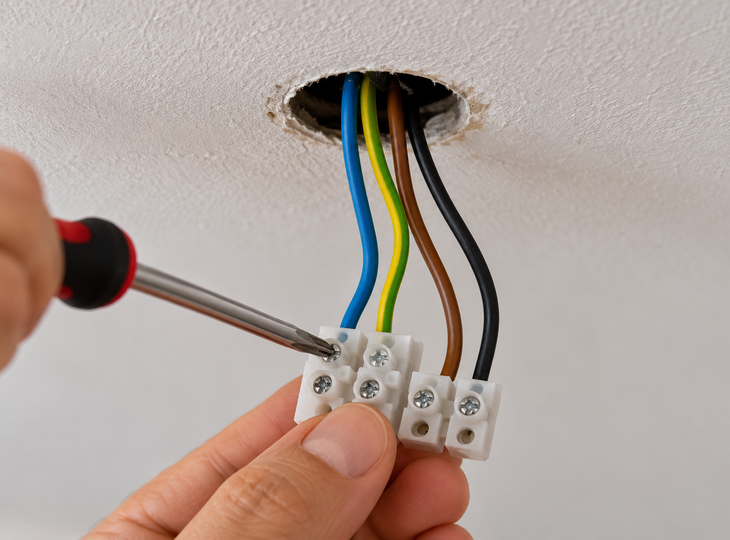
In a configuration of this kind, two separate return wires may reach the light fitting, in addition to the neutral and the earth wire.
If we replace that light fitting with a designer flush LED ceiling light that only has an L terminal and an N terminal, we can no longer assume that all the conductors must be connected together.
It will be necessary to identify which of the return wires will be used to power the new light fitting and to determine what should be done with the wire that will no longer be used.
A spare conductor must never be left with exposed copper inside the ceiling. It must be terminated and insulated using an appropriate connection method.
Why do they have four wires?
The presence of four cables does not necessarily indicate a problem. It may simply be due to the way the installation has been laid out.
The light fitting may be used as a junction point for other wires, there may be a dual switch, or the wiring may have been modified previously.
It is precisely for this reason that one should avoid a fairly widespread misconception: connecting the wires simply by matching colours.
If two brown, black or grey wires appear, this does not mean they can automatically be joined. Similarly, if the colour pattern seems unusual or does not match what you would expect, it is best to check the wiring before continuing.
This is particularly important in older properties, where the wires may follow identification systems that differ from those used today.
What happens if the light fitting only has two wires?
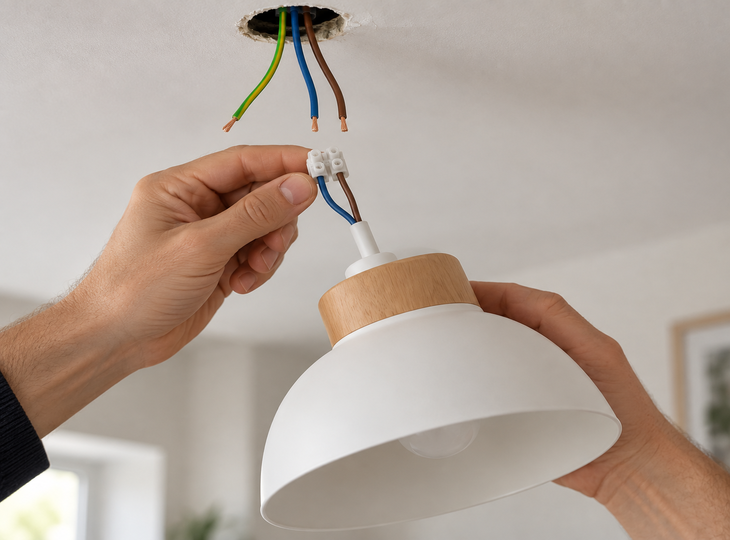
The opposite situation may also arise: three wires come out of the ceiling, but our new light fitting only has two. This does not necessarily mean that a connection is missing.
Some light fittings are manufactured using materials and insulation systems that make an earth connection unnecessary. In these cases, the light fitting may only have a live and neutral wire.
If the earth conductor is present at the ceiling but the light fitting does not have a terminal provided for it, it must not be connected to any of the other terminals. It must be protected separately within a suitable connector.
It must never be cut off simply because the new light fitting does not use it. Keeping the conductor available ensures the installation is maintained correctly and allows it to be used in the future if another light fitting is installed that does require earthing.
Common mistakes when connecting a ceiling light
Before connecting a ceiling light, it is advisable to avoid certain mistakes that could affect both the light fitting’s performance and the safety of the installation.
- Simply switching off the wall switch: even if the light is off, this does not guarantee that all the wires in the light fitting are de-energised. You must switch off the circuit at the fuse box.
- Relying solely on the colour of the wires: colours help to identify the wires, but in older or modified installations they may not follow the standard colour code.
- Connecting all the wires when there are four: a fourth wire does not necessarily need to be connected directly to the light fitting. It may correspond to a second return wire, a dual switch, or form part of another circuit.
- Leaving loose connections: a conductor that is poorly inserted or only partially secured in the terminal may cause intermittent faults or overheating at the connection point.
- Leaving copper exposed: unused conductors must be properly insulated and protected within a suitable connector.
How to connect the wires of a ceiling light safely
Connecting the wires of a ceiling light correctly depends, above all, on identifying the function of each conductor and following the connections specified by the manufacturer. Before you begin, always switch off the power at the fuse box and check that there is no voltage present. If you find more wires than expected, colours that do not match the usual colour-coding, or if you cannot determine with certainty the function of each wire, avoid making connections by trial and error and consult a professional.