Changing the bulb in a ceiling light is one of the most common maintenance tasks in any home. Although it seems like a simple procedure, not all light fittings allow the bulb to be replaced in the same way.

In this guide, we explain how to change a ceiling light bulb step by step, what you should check before choosing a new one, and how to carry out the replacement depending on the type of light fitting.
Table of Contents
- What should you bear in mind before changing a ceiling light bulb?
- How do you change a ceiling light bulb step by step?
- How to change the bulb in a ceiling light, depending on the type
- How to change the bulb in a bathroom ceiling light
- What happens if the light fitting has a built-in LED and the bulb cannot be replaced?
- Tips for extending the lifespan of ceiling light bulbs
- Changing the bulb correctly to ensure safe and efficient lighting
What should you bear in mind before changing a ceiling light bulb?
Before you begin, it is important to identify the specifications of the ceiling lamp and check that the new bulb is compatible. Choosing the wrong bulb can cause operational problems, reduce the lifespan of the light fitting or even damage certain components of the light fitting.
Identify the type of bulb and socket
The first step is to check what type of bulbs the light fitting uses. Although there are numerous types, the most common in domestic installations are as follows:
| Type of socket | Features and uses |
| E27 | Large screw base, commonly found in pendant lights and ceiling lights. |
| E14 | Small thread, used in compact light fittings. |
| GU10 | Twist-lock fitting, commonly found in ceiling spotlights. |
| GU5.3 | Two-pin connection, used in certain low-voltage spotlights. |
| G9 | A two-contact socket, commonly found in small decorative lamps. |
The new bulb must have a base that is compatible with the existing lamp holder. It is not enough for it to be a similar size, as each system uses a specific connection mechanism.
It is also necessary to check the supply voltage. For example, some GU5.3 bulbs operate at 12 V and require a compatible transformer or controller, whilst many GU10 bulbs are designed to be connected directly to the mains.
Check the wattage, brightness and colour temperature
When replacing a traditional light bulb with an LED, it is important to distinguish between the wattage and the amount of light it provides.
Watts (W) indicate energy consumption, whilst lumens (lm) express luminous flux. Therefore, an LED bulb can provide lighting similar to that of an incandescent bulb whilst consuming much less electricity.
As well as brightness, you should consider the colour temperature:
- 2700–3000 K: warm light, suitable for cosy spaces such as bedrooms and living rooms.
- 4000 K: neutral white light, commonly used in kitchens, bathrooms and workspaces.
- 6000–6500 K: cool white light, used in spaces where a cooler-looking illumination is desired.
If the light fitting is connected to a dimmer switch, make sure you choose a dimmable LED bulb that is compatible with that system.
Gather your tools and take the necessary safety precautions
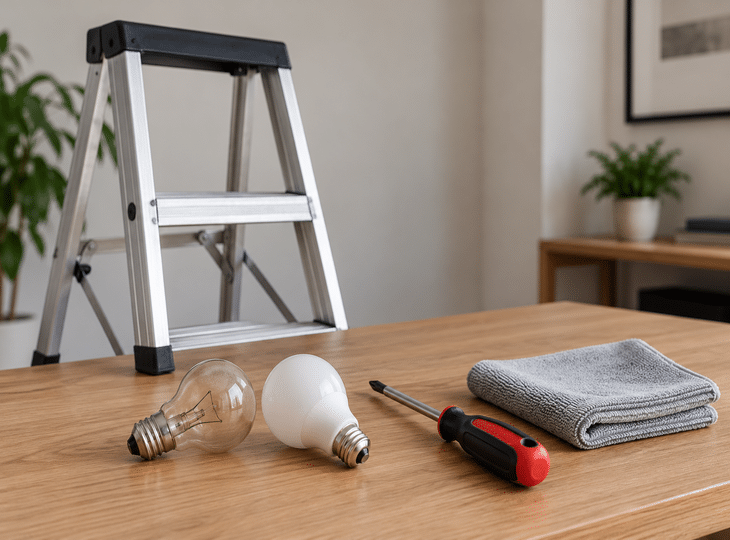
In most cases, you won’t need any special tools. However, depending on the design of the light fitting, it may be useful to have a stable ladder, a suitable screwdriver and a soft cloth for holding or cleaning the parts.
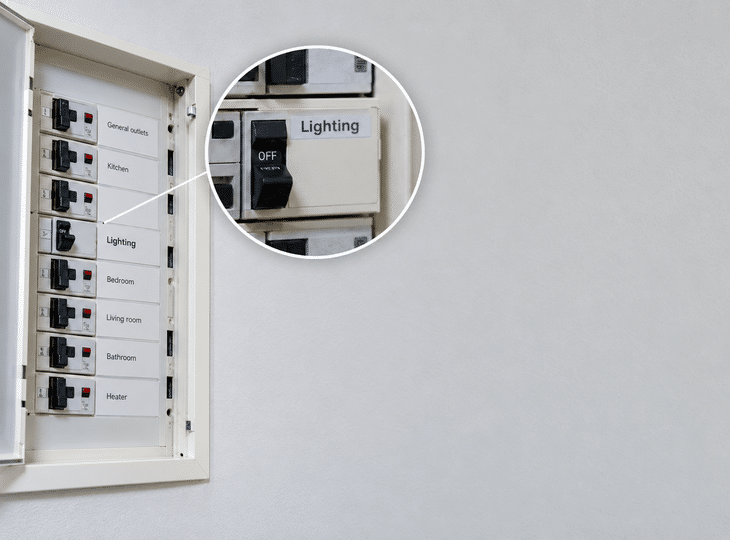
Before working on the light fitting, switch off the power supply to the circuit at the fuse box and check that there is no voltage present using an appropriate testing procedure. Simply switching off the wall switch does not guarantee that all components are de-energised.
You should also wait for the bulb to cool down, especially if it is a halogen or incandescent bulb, as these types can reach high temperatures whilst in use.
Avoid working with wet hands and do not use chairs or unstable furniture to reach the light fitting.
How do you change a ceiling light bulb step by step?
Although the procedure may vary slightly depending on the model, most lamps with replaceable bulbs can be changed by following a similar sequence.
Step 1. Switch off the power supply
Locate the circuit breaker for the lighting circuit in the fuse box and switch it off.
Check that there is no voltage present before you begin. If you are unable to identify the circuit or verify that the installation is safe, seek assistance from a qualified electrician.
This precaution is particularly important for metal light fittings, older installations or lamps showing signs of wear and tear. If you need a better understanding of the light fitting’s electrical connections, you can consult our guide on how to identify and connect the wires in a ceiling light, where we explain the function of each wire and the necessary precautions.
Step 2. Remove the lampshade or cover
Some lamps allow direct access to the bulb, whilst others feature glass shades, plastic diffusers or decorative covers.
The most common ways to open them are:
- Screw-on: the shade is removed by turning it in the direction indicated by the manufacturer.
- Clips or tabs: these are carefully removed or moved to release the cover.
- Side screws: these hold the diffuser in place on the frame.
- Bayonet system: this allows the cover to be unlocked with a slight twist.
Always hold the shade in place whilst removing its fixings to prevent it from falling. If you encounter resistance, do not force the mechanism: check for any screws or additional safety features.
Step 3. Remove the old bulb
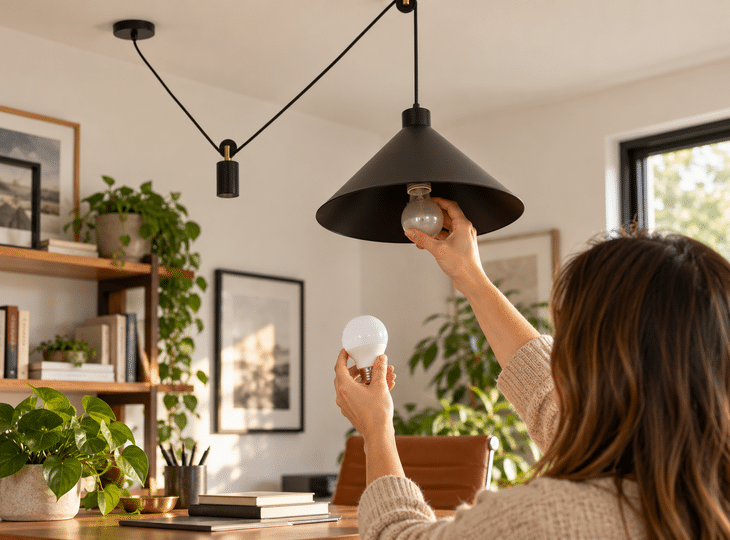
Once you have access to the bulb holder, remove the bulb using the method appropriate for its base.
E27 and E14 bulbs are unscrewed anti-clockwise. GU10 bulbs require a slight twist to release them, whilst pin-type bulbs, such as some GU5.3 or G9 bulbs, are removed by pulling in the direction indicated for their connection, usually by pulling carefully without twisting them.
It is important to hold the bulb by its body and avoid applying force to the socket.
If the bulb is stuck, broken or shows signs of overheating, do not try to force it out. A damaged bulb holder must be checked before fitting another bulb.
Step 4. Fit the new bulb
Check that the new bulb matches the electrical and mechanical specifications of the previous one.
Insert it using the appropriate connection method, without applying excessive pressure. For screw-in bulbs, turn gently until it is properly seated.
For pin-type bulbs, check their orientation before inserting them to avoid damaging the contacts.
If you are fitting a halogen bulb, check the manufacturer’s instructions on how to handle it, as certain models must not be touched directly with your fingers.
Step 5. Replace the cover and check that it is working
Once the bulb is correctly fitted, replace the shade, diffuser or any fixing elements you may have removed.
Make sure all parts are securely fastened and that the bulb does not come into contact with any materials that could be damaged by heat.
Finally, reconnect the power supply and switch on the lamp to check that it is working correctly.
If the bulb does not light up, switch off the circuit again before carrying out any further checks.
How to change the bulb in a ceiling light, depending on the type
Not all ceiling lights have the same design or use the same opening mechanism. For this reason, it is important to adapt the procedure to the type of light fitting to avoid damaging the shades, brackets or connections.
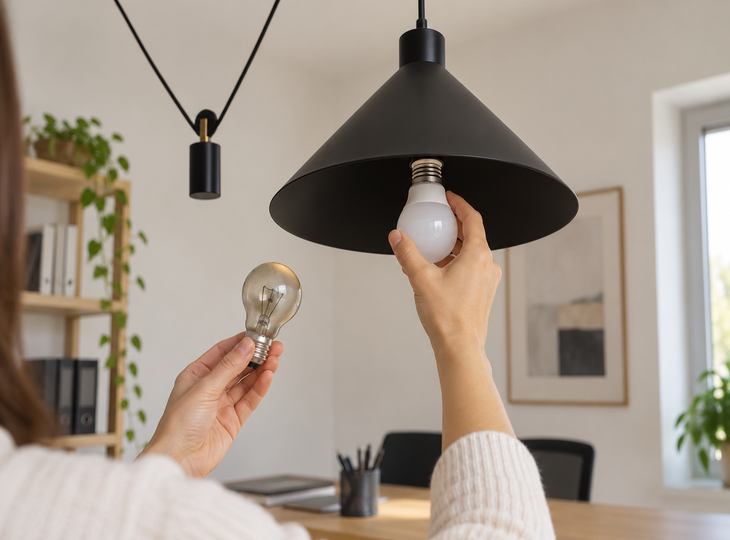
Changing the bulb in a pendant light
Pendant lights usually offer relatively easy access to the bulb, although some feature enclosed shades or decorative structures that make it difficult to remove it.
With open designs, it is usually sufficient to unscrew the old bulb and fit a new one with the same type of socket.
For ceiling lamps made of glass, metal or fabric, you will need to check how they are secured. Some shades are fixed using a threaded ring around the lampholder, whilst others use small screws.
Before removing it, hold the shade steady with one hand to prevent it from shifting or falling.
For lamps with multiple bulbs, it may be advisable to use bulbs with similar brightness and colour temperature to achieve uniform lighting.
Recommended products

In Stock, delivery in 24/48h
7.39 £
Pendant lights with black textile cable Naomie
View product

In Stock, delivery in 24/48h
5.49 £
Pendant Lamp holder with PVC Cable for Outdoors
View product

In Stock, delivery in 24/48h
8.39 £
Pendant Lamp Holder with White Textile Cable
View product
In Stock, delivery in 24/48h
5.49 £
Rubik Pendant Lamp
View product
Changing the bulb in a ceiling-mounted light fitting
Ceiling lights are commonly found in hallways, kitchens, bathrooms and other rooms where subtle lighting is required.
In many models, the bulb is held in place by a retaining ring at the front.
After switching off the power and checking that there is no voltage, carefully remove this ring and check the type of connection.
If you are using a GU10 bulb, you will usually need to turn it slightly to release it. However, if it has a GU5.3 connection, the bulb is usually removed by separating it from its socket.
It is important not to pull the bulb out abruptly, as some models are secured to the false ceiling by springs that may snap shut suddenly.
In installations with integrated LEDs, the light source may not be replaceable separately.
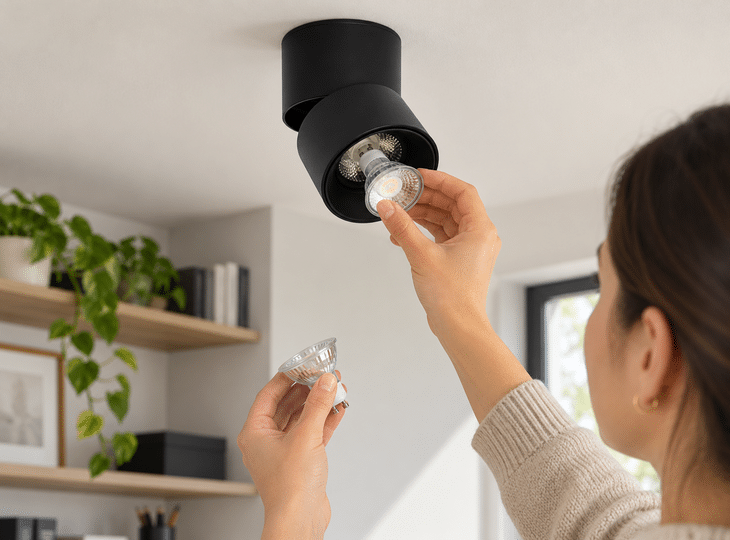
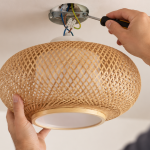
Changing the bulb in a ceiling light
Designer flush lights are fitted directly onto the ceiling surface and usually feature a cover that protects and diffuses the light.
To access the bulb, you must first work out how to remove the diffuser.
On some ceiling lights, the cover is removed by twisting it. On others, you need to release some side tabs or loosen several fixing screws.
Once removed, check whether the ceiling light uses standard bulbs or an integrated LED module.
This distinction is crucial: with ceiling lights that have replaceable bulbs, you can simply carry out a standard replacement, whilst models with integrated LEDs may require you to replace a specific module, the driver or even the entire light fitting.
If the manufacturer does not provide for the replacement of the module, it is not advisable to dismantle its internal components yourself.
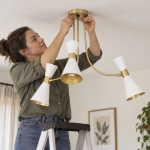
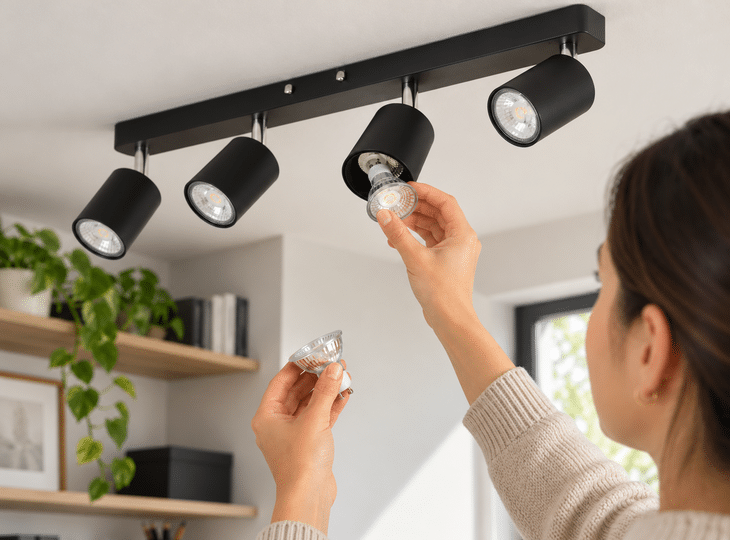
Changing the bulb in a multi-bulb ceiling light
Ceiling lamps with spots allow you to direct the light towards different areas of a room.
In these models, each spotlight usually has its own bulb, often a GU10 type, although there are also designs with other socket types or LED modules.
To replace the bulb, position the spotlight so that it is easily accessible, provided that its mechanism allows it to be adjusted without forcing it.
Remove the bulb using the appropriate fixing mechanism and fit a new, compatible one.
If you are replacing just one bulb, ensure that it has a colour temperature and luminous flux similar to those of the others. Otherwise, visible differences may appear between the various light sources.
How to change the bulb in a bathroom ceiling light
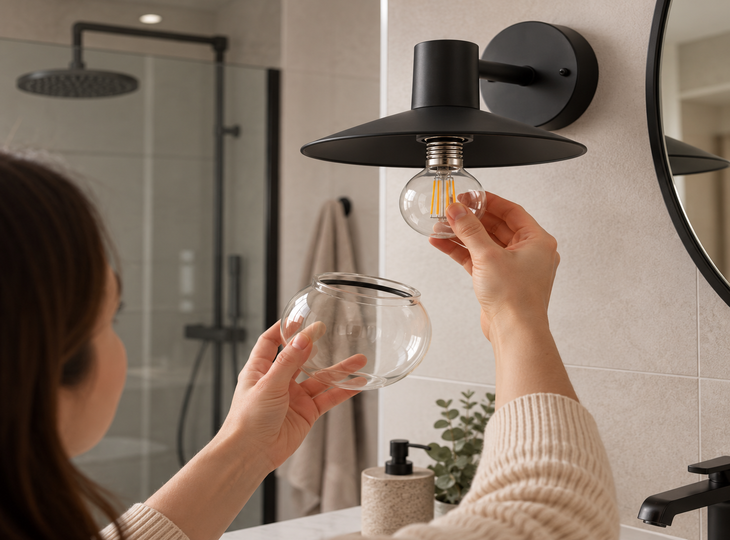
Changing a light bulb in the bathroom requires special care due to the damp and the risk of water splashes. Although the procedure is similar to that in other rooms, it is important to check the light fitting’s specifications and ensure electrical safety.
Check the light fitting’s IP rating
The IP rating indicates a light fitting’s resistance to the ingress of dust, solid objects and water. In the bathroom, the level of protection required depends on the fitting’s location and its proximity to the shower or bath.
For example, an IP44 light fitting offers protection against splashes, although higher ratings may be required in certain areas.
Remove the cover without damaging the seals
Before you begin, switch off the power supply, check that there is no voltage present and ensure your hands are dry. Carefully remove the cover following the manufacturer’s instructions, paying attention to the rubber or silicone seals that prevent moisture from entering.
If any seal is damaged, replace it with a compatible spare part to maintain the light fitting’s protection.
Fit a compatible bulb and close the light fitting properly
Check that the new bulb has the correct base, voltage and wattage. If the light fitting is enclosed, ensure that the LED bulb is suitable for this type of installation.
Once fitted, refit the cover and check that the seals and fastenings are secure before switching the power back on.
If you notice any damp, corrosion or damaged wiring, do not use the light fitting until a professional has inspected the installation.
What happens if the light fitting has a built-in LED and the bulb cannot be replaced?
It is becoming increasingly common to find ceiling lights that incorporate built-in LED modules instead of conventional bulbs.
These light fittings are designed so that the light source forms part of their structure. This allows for more compact, slimmer designs with specific light distributions.
However, it also means that it is not always possible to replace the light source in the same way as a traditional light bulb.
When an integrated LED light fitting stops working, the problem may lie with various components such as the LED module, driver, internal connections or control system. If the light fitting still does not come on, it is important to identify the source of the fault before replacing it. In our guide on why a ceiling light isn’t working, we explain the most common causes and their possible solutions.
Some light fittings allow the LED module or driver to be replaced using specific spare parts. Others, however, are designed as units that cannot be repaired by the user.
Before buying a new light fitting, check the manufacturer’s documentation to see if any components can be replaced and whether the work must be carried out by a professional.
Tips for extending the lifespan of ceiling light bulbs
As well as replacing them correctly, there are a few recommendations that will help maintain efficient performance and extend the lifespan of your lighting.
Firstly, choose high-quality bulbs that are suitable for the operating conditions of each light fitting. LED bulbs generally have a longer lifespan than incandescent and halogen bulbs, although their lifespan depends on factors such as operating temperature, the quality of their components and conditions of use.
It is also important to ensure proper heat dissipation. In enclosed luminaires, only use bulbs that the manufacturer considers compatible with this type of installation.
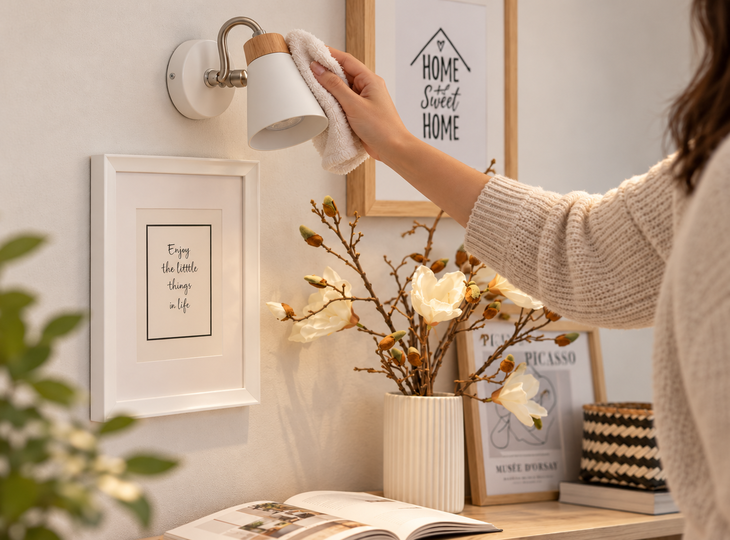
Keeping lampshades and diffusers clean helps to maintain good light distribution. To do this, use a soft cloth and always clean the light fitting when it is switched off and cool.
Finally, watch out for signs such as frequent flickering, changes in brightness, unusual odours or discolouration around the bulb holder. These symptoms may indicate a problem that goes beyond the bulb itself.
Changing the bulb correctly to ensure safe and efficient lighting
Knowing how to change a light bulb in a ceiling light ensures you maintain adequate lighting in every room and make the most of modern technologies.
The key lies in correctly identifying the socket, checking that the new bulb is compatible and understanding how the light fitting opens. Furthermore, replacing a bulb can be a good opportunity to improve energy efficiency, choose a more suitable colour temperature or adjust the brightness to suit the needs of the room. This will ensure you have suitable and efficient lighting for every room in your home.