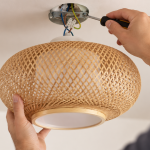

Fitting a new ceiling lamp can completely transform the lighting and appearance of a room. Although it may seem like a complicated job at first glance, knowing how to fit a ceiling light is relatively straightforward when there is already a light fitting in place and the electrical installation is in good condition.

However, working with electrical wiring always requires caution. Below, we explain how to install a ceiling light step by step, from the initial preparation to the final checks.
Table of Contents
- What you need to install a ceiling light
- How to fit a ceiling light, step by step
- 1. Switch off the power supply
- 2. Remove the existing light fitting or ceiling light
- 3. Position the base of the new light fitting and mark the holes
- 4. Drill into the ceiling and fit the appropriate wall plugs
- 5. Secure the mounting plate or lamp bracket
- 6. Connect the electrical wires
- 7. Fit the ceiling rose or lamp body onto the bracket
- 8. Fit the light bulb if the model requires one
- 9. Restore the power supply and check the installation
- How to install a light fitting depending on the type of ceiling
- At what height should a ceiling light be fitted?
- Common mistakes when fitting a ceiling light
- Install your ceiling light safely and correctly
What you need to install a ceiling light
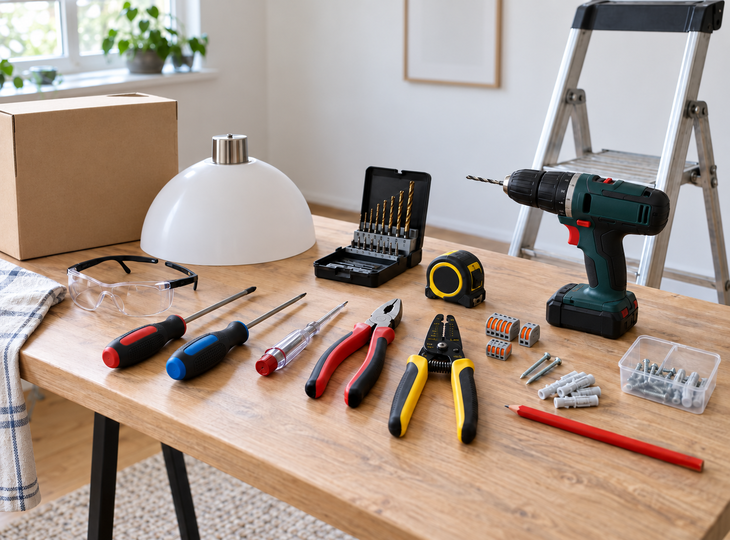
Before you start, it’s a good idea to get the light fitting, tools and necessary materials ready. This way, you’ll avoid having to keep going up and down the ladder or interrupting the installation once you’ve already removed the previous light fitting.
Depending on the model and type of ceiling, you will usually need:
- Screwdrivers.
- A suitable voltage tester.
- Pliers and wire strippers.
- A drill.
- Drill bits suitable for the ceiling material.
- Screws and wall plugs.
- Electrical connectors.
- Pencil for marking fixing points.
- A sturdy ladder.
- Safety goggles for drilling.
The new light fitting will normally include a mounting plate, a metal base or another fixing system. This component is fitted to the ceiling first, allowing the main body of the light fitting to be fitted afterwards.
Before you begin, it is also advisable to consult the instructions provided by the manufacturer. Although the general procedure is usually similar, the mounting system can vary considerably between models.
Check the type of ceiling before you begin
The material on which you are going to install the light fitting determines which type of fixing you should use.
A solid concrete ceiling or one made of similar materials does not require the same type of wall plug as a plasterboard false ceiling. Using an unsuitable fixings system may cause the light fitting to become unstable over time.
You should also take into account the weight of the light fitting itself. Small ceiling lights are usually relatively light, but there are ceiling lights made of metal, glass or other materials that can be quite heavy.
For suspended ceilings, fixings designed specifically for hollow materials can be used. When the light fitting is heavy, it may be necessary to find a suitable structural point rather than relying solely on the ceiling panel.
How to fit a ceiling light, step by step
Although each model may use a different mounting mechanism, the general procedure for installing a ceiling light usually involves the following steps.
1. Switch off the power supply
This is the most important step in the entire installation process.
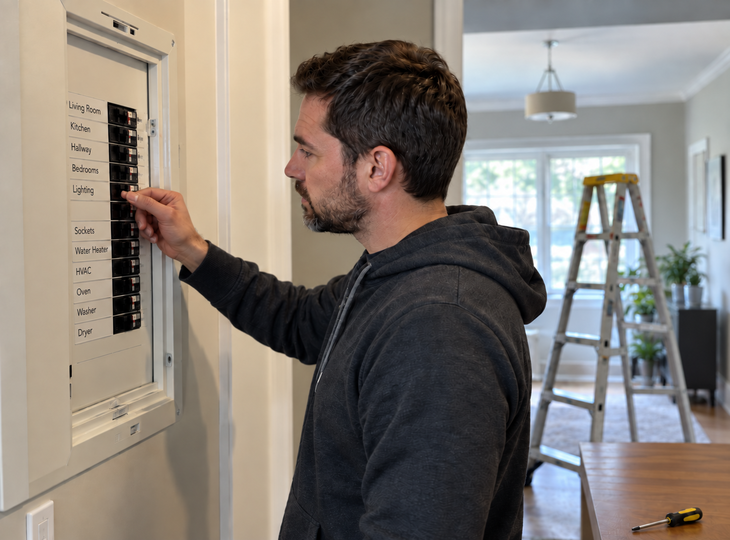
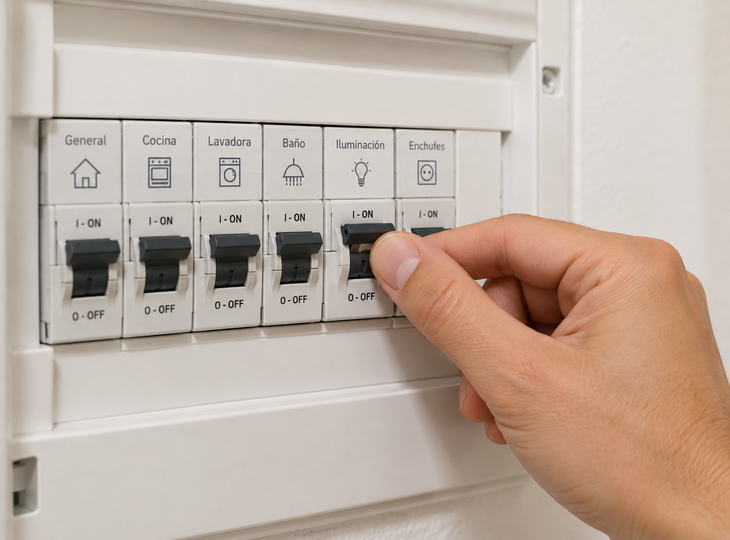
Before removing the old light fitting or handling any wires, switch off the lighting circuit you are going to work on at the fuse box. If you cannot identify with certainty which circuit corresponds to that room, the safest option is to switch off the main power supply.
Do not rely solely on turning off the wall switch. After switching off the power, use a suitable voltage tester to check that there is no voltage in the light fitting’s wires.
You must check that there is no voltage present before carrying out any electrical work.
2. Remove the existing light fitting or ceiling light
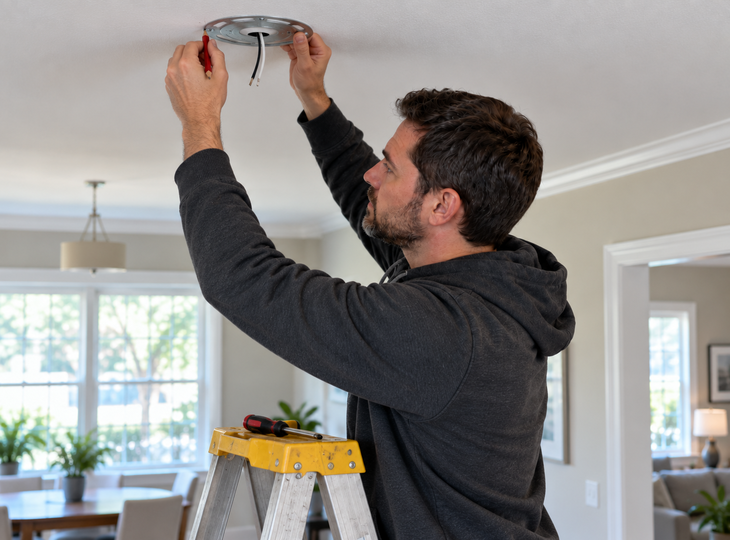
If you are replacing an existing light fitting, start by removing its cover or trim to access the fixing mechanism.
Design Flush Ceiling Lights may use different mechanisms. Some are secured with side screws, others feature a shade that rotates to detach from the base, and others use specific tabs or fasteners.
First remove any decorative elements and locate the screws securing the lamp body.
Once you have access to the wiring, check again that there is no voltage present before disconnecting the wires.
Always hold the lamp body in place whilst removing the final screws to prevent it from accidentally hanging from the electrical wires.
This is also a good time to inspect the condition of the existing installation. If you find damaged wires, burnt insulation, faulty connections or any components you cannot identify, it is advisable to stop work
3. Position the base of the new light fitting and mark the holes
Most modern light fittings include a mounting plate or bracket which is first fixed to the ceiling, onto which the trim is then fitted.
Position the mounting plate in its final position and use a pencil to mark the points where you will need to drill.
Before drilling, check the location of the electrical socket and avoid drilling in areas where the wiring itself or other concealed installations might run.
If the holes in the old bracket line up with those in the new light fitting and the fixings are in perfect condition, in some cases you will be able to reuse them.
4. Drill into the ceiling and fit the appropriate wall plugs
If you need to create new fixing points, use a drill bit suitable for both the diameter of the wall plug and the material of the ceiling.
On solid surfaces, it may be necessary to use a masonry drill bit and, where appropriate, the hammer drill function. On suspended ceilings or more delicate materials, this function may damage the surface, so you will need to use the system recommended for that particular surface.
Insert the wall plugs and check that they are correctly positioned before screwing the mounting plate in place.
Do not improvise the fixing system based solely on the size of the light fitting. The type of ceiling and the actual weight that the fixing must support are far more important.
5. Secure the mounting plate or lamp bracket
Once the wall plugs are in place, reattach the mounting plate and screw it in place.
Tighten the screws gradually and check that the bracket is completely stable, with no movement or play.
This component is responsible for keeping the lamp in place, so it is worth checking it before continuing.
With ceiling-mounted lights, this is particularly important because the light fitting rests directly against the ceiling. A crooked or poorly secured base may mean that the lamp body is not fully aligned with the surface.
6. Connect the electrical wires
With the power still switched off, make the connections following the light fitting’s instructions.
The product will usually have a terminal block or connector into which the relevant wires must be inserted.
Check that each cable is securely fastened and that no copper strands are protruding from the connector. The connections must not be subjected to mechanical stress either.
Where the light fitting requires an earth connection, the relevant conductor must be connected.
Some models have design features that mean they do not require an earth connection. In such cases, always follow the manufacturer’s instructions and never alter the existing wiring arbitrarily.
If you find several conductors whose function you cannot identify, or a wiring layout that differs from what you expected, do not make connections by trial and error. In such cases, the installation must be properly checked before proceeding.
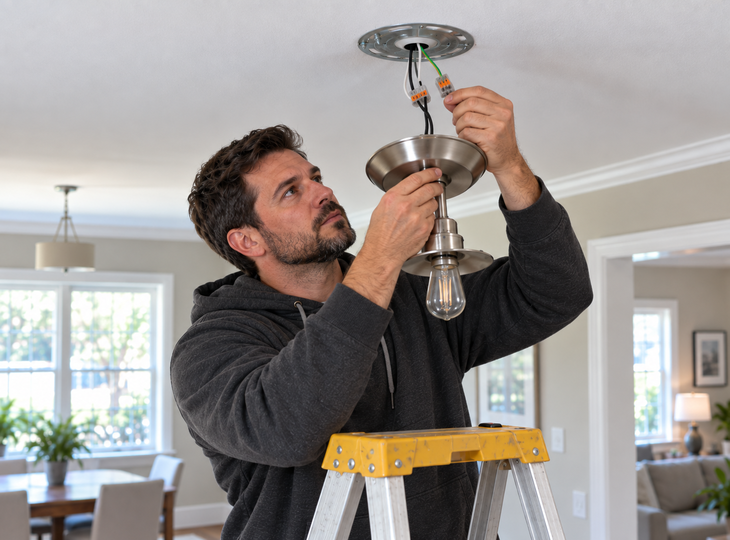
7. Fit the ceiling rose or lamp body onto the bracket
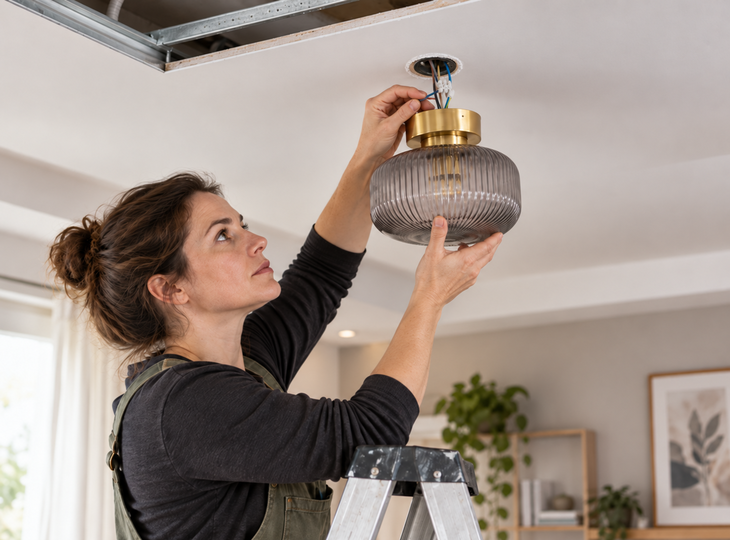
Once the connections have been made, it is time to fit the light fitting permanently.
Carefully insert the cables and connectors into their designated spaces. Avoid bending the wires excessively or trapping them between the ceiling and the housing.
Then position the lamp body close to the mounting plate or base that was installed earlier.
The exact method will depend on the product. You may use side screws, front screws, tabs, a swivel mechanism or a specific fastening system.
Tighten all fixings in accordance with the manufacturer’s instructions and check that the light fitting is correctly aligned with the ceiling.
Recommended products
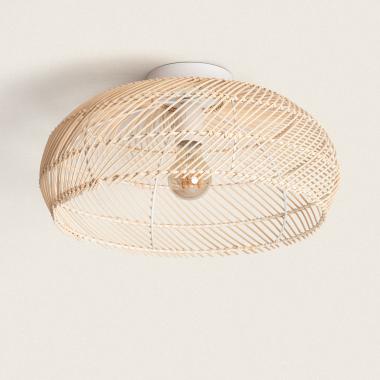
In Stock, delivery in 15-20 days
55.99 £
Nango Bamboo Ceiling Lamp
View product
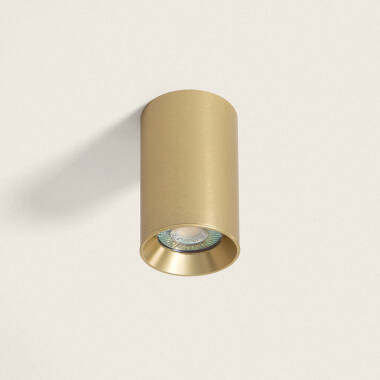
In Stock, delivery in 15-20 days
10.59 £
Adonai Aluminium Ceiling Lamp
View product
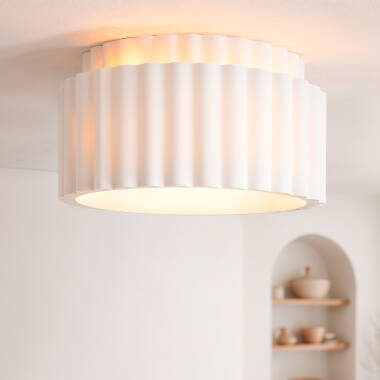
In Stock, delivery in 24/48h
51.99 £
Colum Double Ceiling Lamp
View product
In Stock, delivery in 24/48h
15.99 £
Medan Cement Ceiling Lamp
View product
8. Fit the light bulb if the model requires one
Not all ceiling lights use the same lighting system.
Some models feature a conventional socket onto which a light bulb is then fitted. Others use integrated LED modules that form part of the light fitting itself.
If your light fitting requires a bulb, check both the type of socket and the maximum wattage specified by the manufacturer. Do not use a light source that exceeds the light fitting’s specifications.
Once you have fitted the bulb, also fit the corresponding shade, diffuser or decorative element. If you have purchased an integrated LED ceiling light, this step will not be necessary, as the light source is already fitted within the product itself.
9. Restore the power supply and check the installation
Once the light fitting is fully assembled and all components are securely fixed in place, you can switch the circuit back on from the fuse box.
Switch on the light using the switch and check that it works.
As well as checking that it lights up correctly, keep an eye out for any unusual behaviour during the first few moments.
If the protection circuit trips, you hear unusual noises, there is a burning smell or the light fitting behaves abnormally, switch off the power supply immediately and check the installation.
How to install a light fitting depending on the type of ceiling
The installation method does not depend solely on the light fitting itself. The material of the ceiling largely determines which type of fixing can be used.
Installing a light fitting on a concrete or solid ceiling
Solid ceilings usually accommodate a wide variety of fixing methods. The important thing is to use wall plugs and screws that are suitable for both the material and the weight they have to support.
Before drilling, check the recommended diameter for the wall plug and select a drill bit of the corresponding size.
Once the mounting plate is in place, check that it does not wobble before fitting the lamp body.
Fitting a light fitting to a suspended ceiling or plasterboard
Suspended ceilings require a different approach.
The plasterboard forming the surface may not provide sufficient strength to use conventional wall plugs designed for solid materials.
There are specific fixings for hollow materials that distribute the load more effectively. However, when the light fitting is heavy, it may be necessary to fix it to the structure behind the panel.
If you are unsure how the false ceiling is constructed or cannot determine what type of fixing the light fitting requires, it is best to consult a professional before carrying out the installation.
At what height should a ceiling light be fitted?
For surface-mounted models, such as flush-mounted lights, the position is determined by the design itself: the light fitting is installed directly against the ceiling or just a few centimetres away from it.
This feature makes them particularly practical for rooms with low ceilings, hallways, bedrooms or kitchens. If this applies to you, you can consult our guide to lighting for low ceilings, where you’ll find further advice on how to choose and position your light fittings correctly.
When it comes to other types of ceiling lights that incorporate pendant elements, you will need to take into account the available headroom and the function of the room.
In any case, the position of the light fitting will also influence how the light is distributed throughout the room. A central installation isn’t always essential from a decorative point of view, but it’s worth considering which areas you want to illuminate.
Common mistakes when fitting a ceiling light
A seemingly simple installation can cause problems when certain details are overlooked. These are the most common mistakes:
- Simply switching off the wall switch: before working on the wiring, switch off the circuit at the fuse box and check that there is no live current.
- Using unsuitable wall plugs: the fixing system must be suitable for the ceiling material, whether it is concrete, hollow brick or plasterboard.
- Drilling before positioning the base: first position the base or mounting plate of the new light fitting and mark the exact position of the holes.
- Making poor electrical connections: avoid loose connections, exposed copper wires or makeshift joins.
- Forcing the cables behind the light fitting: if the base does not close properly, do not force it. Dismantle it and rearrange the cables and connectors within the space provided for them.
Install your ceiling light safely and correctly
Knowing how to fit a ceiling light allows you to easily update the lighting in a room, provided you follow each step carefully and use the correct fixings for your type of ceiling. Preparing the installation thoroughly, checking the connections and securing the ceiling light correctly are key to achieving a safe, stable and long-lasting result.
As we have mentioned, if during the process you come across damaged wiring or an installation that you cannot clearly identify, it is best to call in a professional to ensure it is fitted correctly.