Table of Contents

- What does the diameter of an LED downlight mean?
- Difference Between Outer Diameter and Cutout Diameter
- Common sizes for LED downlights
- How to Correctly Measure a Downlight Cutout
- How to Choose the Size of an LED Downlight
- Relationship between diameter, wattage and lumens
- Tips for Choosing the Right Model
The diameter of an LED downlight is one of the first characteristics to check before replacing a light fitting or planning a new installation.
However, choosing the right model is not simply a matter of finding a downlight that appears to be the same size as the previous one. It is also necessary to distinguish between the external dimensions of the fitting and its cut-out dimensions, among other factors.
What does the diameter of an LED downlight mean?
The diameter indicates the total width of a downlight, typically expressed in millimeters. This measurement helps determine the size of the fixture once installed and how it will relate to the ceiling and the other light fixtures.
A downlight’s technical specifications may include measurements such as the outer diameter, cutout diameter, total height, recessed depth, driver dimensions, and outer frame width.
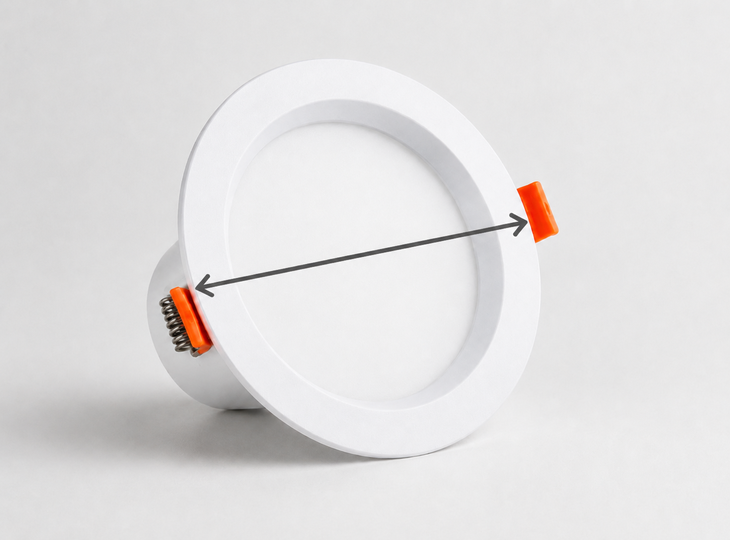
These measurements do not all serve the same purpose. The outer diameter refers to the visible size of the product, while the cut-out diameter indicates the size of the opening required in the ceiling for installation.
Difference Between Outer Diameter and Cutout Diameter
Confusing these two measurements is one of the most common mistakes when buying a downlight.
Outer Diameter of the Downlight
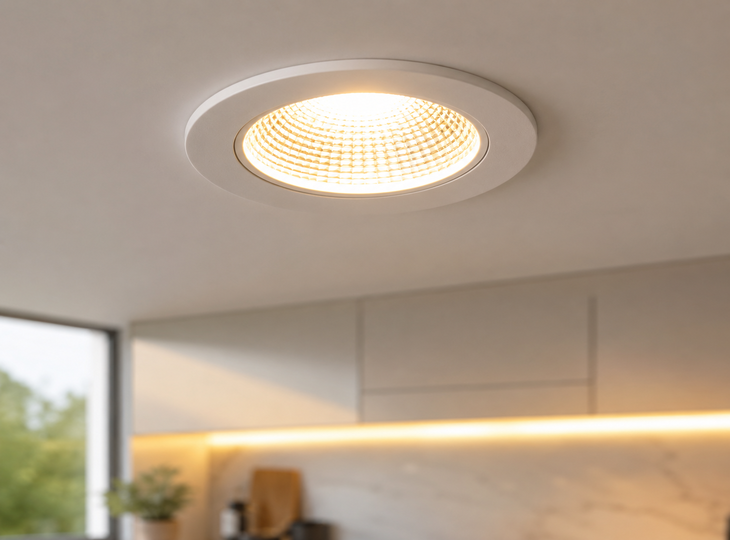
The outer diameter corresponds to the total size of the light fixture. It includes the ring or frame that rests against the ceiling and remains visible after installation.
For example, a downlight may have an outer diameter of 180 millimeters. That will be the approximate area visible from the room, but it does not mean that the hole in the ceiling must be the same size.
The outer diameter must be larger than the cutout so that the frame can rest against the ceiling and conceal the edges of the opening.
This measurement should also be checked when replacing an old light fixture. Even if the new model is compatible with the cutout, a frame that is too small may leave visible marks or irregularities caused during the previous installation.
Cut-out or recess diameter
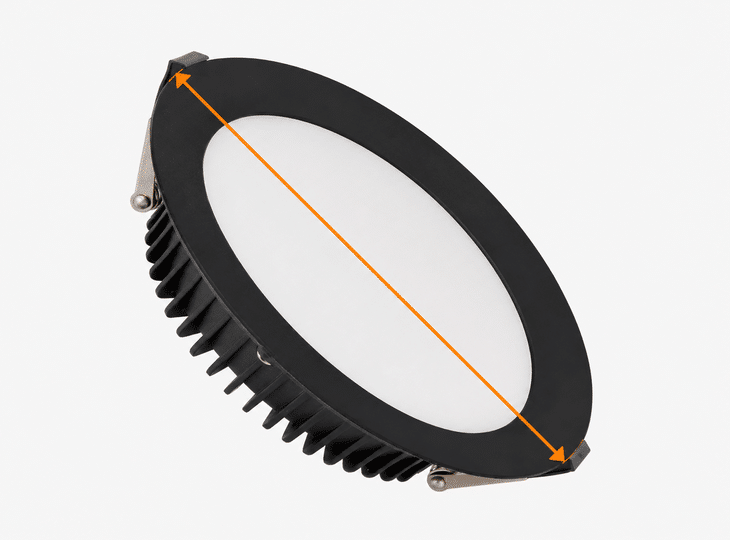
The cutout diameter indicates the size of the hole needed to install the downlight in the drop ceiling. It is the most important measurement when replacing a recessed light fixture.
It may appear in technical specifications under terms such as “cutout diameter,” “cutout size,” or “cutout Ø.”
All these terms refer to the opening on which the springs or mounting tabs must rest. The hole must match the product’s geometry and not just its maximum width.
Common sizes for LED downlights
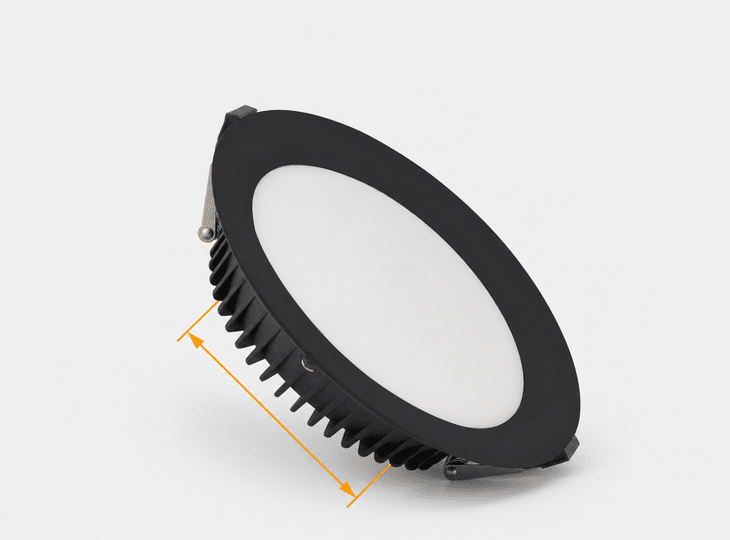
There is no single standard diameter that applies to all downlights. Dimensions vary depending on power, design, optics, heat dissipation system, and intended use.
As a general guide, the following ranges can be distinguished:
| Approximate size | Common mm | Common Applications |
| Compact downlight | 65–100 mm | Entryways, small rooms, and hallways |
| Medium-to-large downlight | 100–160 mm | Larger rooms, offices, and retail spaces |
| Large format | Over 160 mm | Large commercial facilities and open-plan areas |
These ranges are for guidance only and should not be used as a substitute for the technical data sheet. Two downlights with the same outer diameter may require different cutouts.
How to Correctly Measure a Downlight Cutout
Measurements must be taken with the power turned off and after removing the existing fixture.
1. Remove the existing downlight
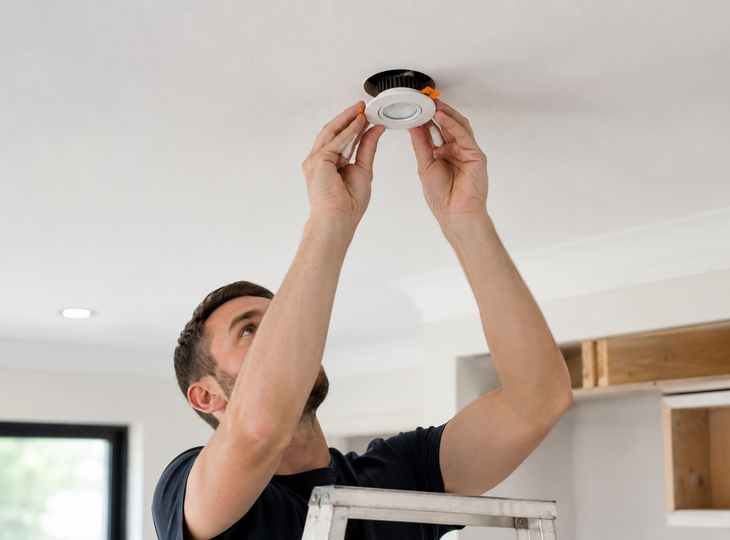
Most recessed downlights are secured by springs or side tabs. To remove them, gently pull on the frame until the fasteners are visible.
The springs can exert considerable pressure. It is advisable to secure them before completely removing the fixture to avoid damage to the ceiling or your hands.
Once removed, disconnect the downlight from the driver or power supply, depending on the system used.
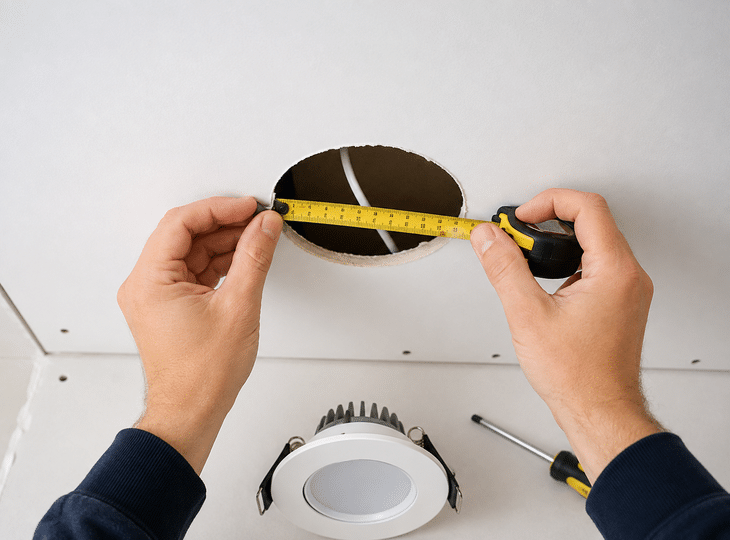
2. Measure the opening
For a circular opening, measure the distance between two opposite ends through the center. It’s recommended to repeat the measurement in two directions to ensure the opening is uniform.
If one side measures 150 millimetres and the other 153, a model compatible with both measurements should be chosen. It is best not to assume that the opening is perfectly circular, especially if it was cut manually.
In this type of installation, round downlights are among the most common options because they integrate easily into ceilings and suspended ceilings.
For a square opening, both the width and length should be measured. It is also advisable to check the diagonals: if they are equal, the cut-out is properly squared. To preserve the shape of the opening and achieve a uniform finish, square downlights with compatible cut-out dimensions should be selected.
3. Check the Depth
Compatibility does not depend solely on the diameter. There must be sufficient space within the drop ceiling to accommodate the light fixture body, the driver, the electrical connections, the mounting springs, and the wiring.
Inside the ceiling, there may be insulation, pipes, beams, etc. A downlight compatible with the cutout might not be installable if any of these elements limit the depth.
4. Check the Visible Frame
The outer diameter must completely cover the opening. It must also conceal any damage caused by the previous light fixture.
When the new frame is too small, spots or marks may remain visible. In these situations, it may be preferable to choose a downlight with a slightly larger frame before proceeding with the installation. If you need information on how to install a downlight correctly, we provide a step-by-step guide to help you complete the process safely and easily.
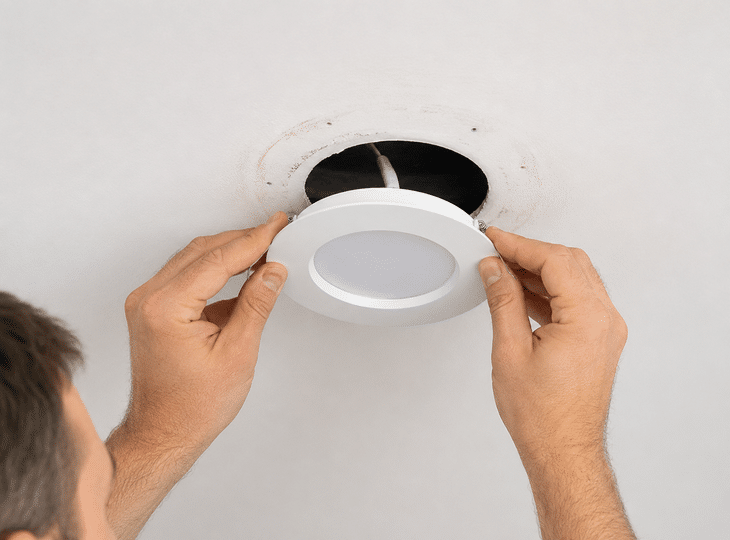
How to Choose the Size of an LED Downlight
The appropriate size depends on the existing cutout, the dimensions of the room, and the amount of light required.
Available Cutout
When replacing a fixture, the existing cutout is the primary determining factor. The new fixture must have a compatible cutout size and a sufficiently large frame.
If the downlight requires a slightly larger cutout, enlarging the opening can be considered. Before cutting, locate any trim, wiring, and other interior elements.
If a smaller cutout is needed, an adapter ring must be used. The light fixture must not rest unsteadily on the edge.
Recommended products
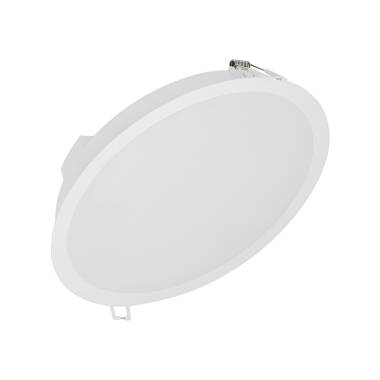
In Stock, delivery in 16-21 days
17.99 £
30W LED Downlight LEDVANCE 100lm/W with Ø200 mm Cut Out IP44
View product
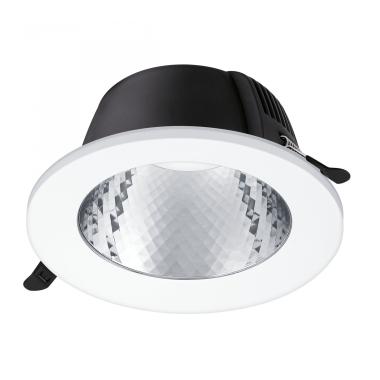
In Stock, delivery in 24/48h
21.19 £
24W PHILIPS Downlight LED Ledinaire DN070B Ø 200 mm Cut-Out IP54
View product
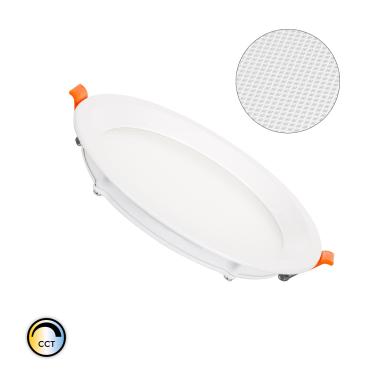
In Stock, delivery in 24/48h
8.69 £
16W LED Downlight Ø150mm Cut Out Selectable CCT Microprismatic LIFUD
View product
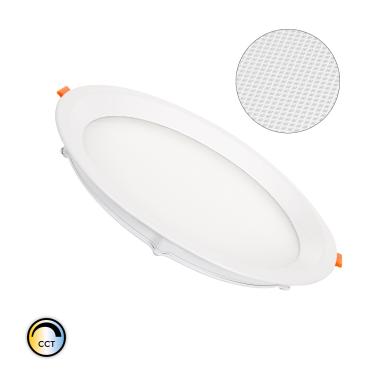
In Stock, delivery in 24/48h
10.89 £
Round 20W LED Downlight Ø205mm Cut Out CCT Microprismatic LIFUD
View product
Room Proportions
The dimensions of the downlight should be adapted to the size of the room and the ceiling height. In small spaces, compact models help maintain a light and well-proportioned appearance, while larger formats can be used in spacious areas to avoid an excessive number of light points.
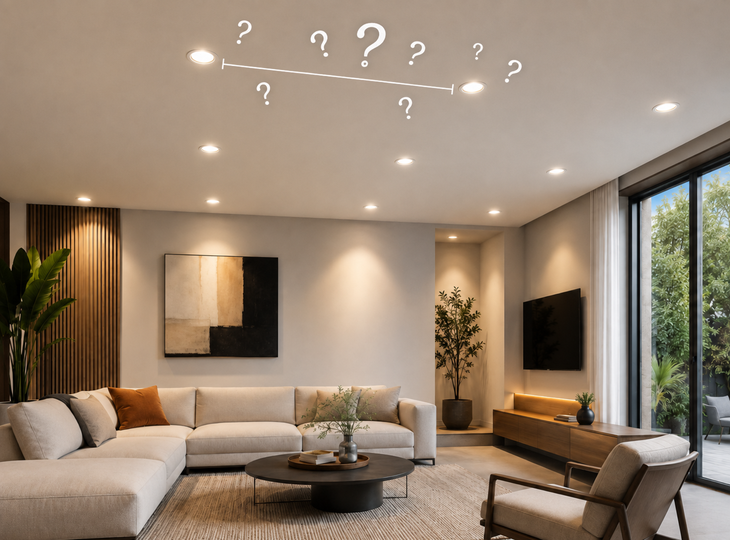
The spacing between the fittings, the luminous flux of each unit and the layout of the furniture should also be taken into account to achieve a balanced installation and uniform lighting.
Ceiling height
For residential ceilings of standard height, downlights with wide beam angles and regular spacing generally work well.
As a starting point, for ceilings approximately 2.4 to 2.7 meters high, a spacing of between 1 and 1.5 meters can be considered for general lighting, although this should be adjusted according to the lumens and beam angle of each model.
For high ceilings, it may be necessary to increase the luminous flux, use a more controlled optical system, or reduce the spacing. Simply choosing a larger diameter does not guarantee that the light will adequately reach the intended area.
Amount of Light
The diameter of a downlight does not, by itself, determine how much light it can emit. A compact model with good luminous efficacy may provide more lumens than a larger one.
Therefore, when comparing different options, it is advisable to check the luminous flux, wattage, efficacy, beam angle and glare control. Watts indicate the electrical power consumed by the fitting, while lumens reflect the actual amount of light it provides.
Relationship between diameter, wattage and lumens
Although higher-wattage downlights typically require a larger surface area and better heat dissipation, there is no fixed equivalence between diameter and brightness.
The size may increase for various reasons, such as improving heat dissipation, reducing glare, or incorporating a taller frame. For this reason, two downlights with the same diameter may have different wattages and luminous fluxes.
To assess efficiency, the lumens-per-watt ratio should be examined. A downlight that produces 1,200 lumens at 12 W is more efficient than one that requires 15 W to deliver the same luminous flux.
The light distribution must also be analyzed. A fixture may emit many lumens, but concentrate them in a beam that is too narrow for general room lighting.
Tips for Choosing the Right Model
Ultimately, choosing the right downlight size helps create a more balanced result that is consistent with the space. The fitting should blend naturally into the ceiling without appearing too large or going unnoticed.
An appropriate choice helps create a more orderly and better-lit layout. The aim is not to choose the largest or smallest format, but the one that best suits the room.
Analyzing all the variables mentioned before making a purchase helps avoid incompatibilities and ensures safer, more efficient lighting.