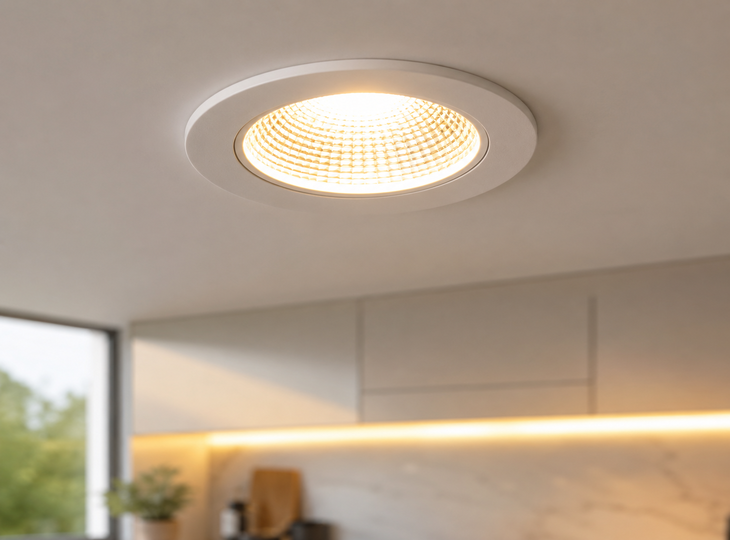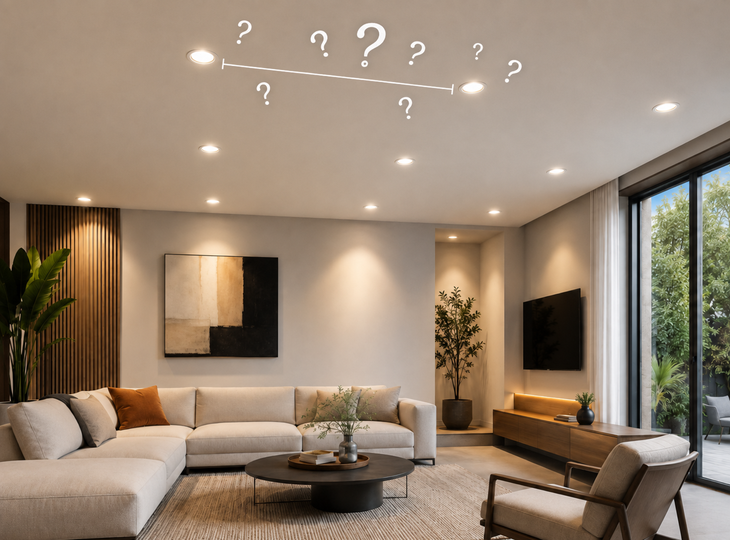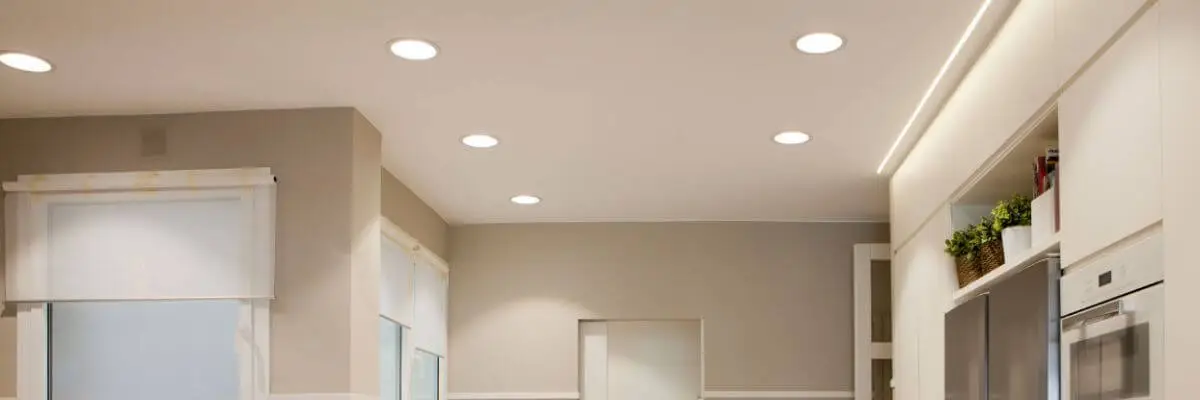
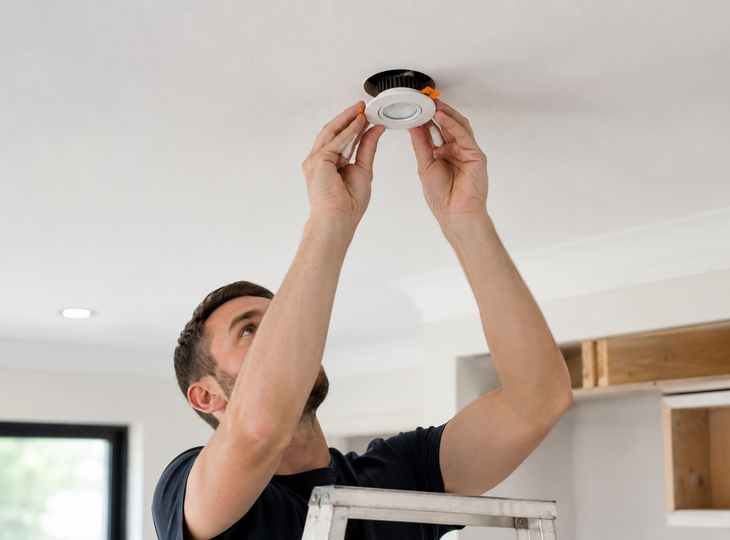
height has a direct impact on the performance of an LED downlight. Although these lights are recessed into the surface, the distance to the floor determines how the light is distributed and the intensity of light reaching each area.

Below, we explain what the appropriate height is and what factors should be considered to achieve balanced lighting.
Table of Contents
- What is meant by installation height
- Relationship between height, wattage and lumens
- Recommended ceiling height in homes
- Suitable height depending on the room
- Required recess depth for the downlight
- Height and glare control
- How to plan the installation correctly
- How to determine the correct installation height for a downlight
What is meant by installation height
When discussing the height of a downlight, two measurements can be confused. The first is the height of the ceiling relative to the floor or the surface to be lit. The second is the depth required to recess the luminaire body and house the driver.
The ceiling height determines the amount of light reaching the target area and the width of the beam. The recessed depth, on the other hand, determines whether the downlight will fit within the suspended ceiling and whether it can be installed safely.
Before choosing a model, it is advisable to measure both dimensions. This prevents you from buying a light fitting that does not deliver the expected performance or that cannot be fitted correctly due to a lack of internal space.
Relationship between height, wattage and lumens
Power, expressed in watts, indicates electricity consumption. Luminous flux, measured in lumens, shows the amount of light emitted. When comparing downlights intended for different heights, lumens are a more useful benchmark than watts.
An efficient model can produce more light whilst consuming less energy than a less efficient one. Therefore, you should not choose a model based solely on wattage. You should also check the luminous efficacy and the beam angle.
Higher ceilings usually require a greater luminous flux, but always installing the most powerful fitting can increase glare and energy consumption. The solution is to tailor the specifications to the level of lighting required in each space.
Recommended products
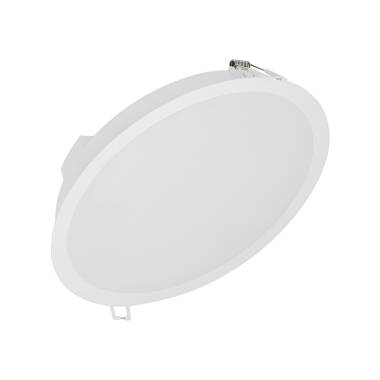
In Stock, delivery in 16-21 days
17.99 £
30W LED Downlight LEDVANCE 100lm/W with Ø200 mm Cut Out IP44
View product
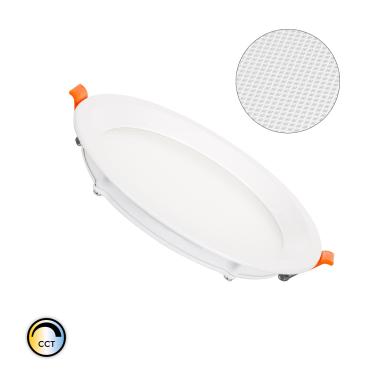
In Stock, delivery in 24/48h
8.69 £
16W LED Downlight Ø150mm Cut Out Selectable CCT Microprismatic LIFUD
View product
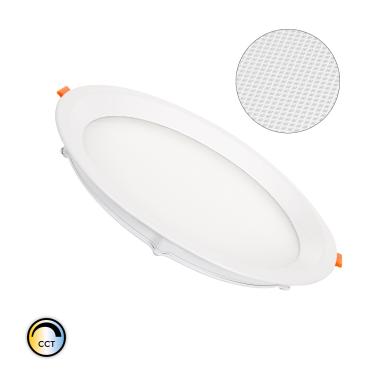
In Stock, delivery in 24/48h
10.89 £
Round 20W LED Downlight Ø205mm Cut Out CCT Microprismatic LIFUD
View product
In Stock, delivery in 15-20 days
20.99 £
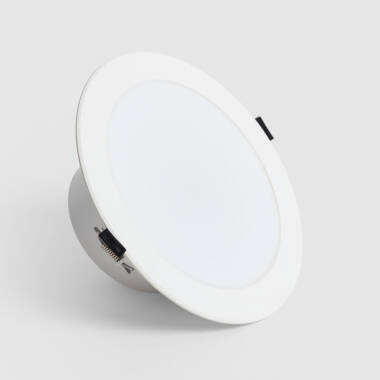
Round 25W LED Downlight for Bathroom Ø145mm Cut Out IP44
View product
Recommended ceiling height in homes
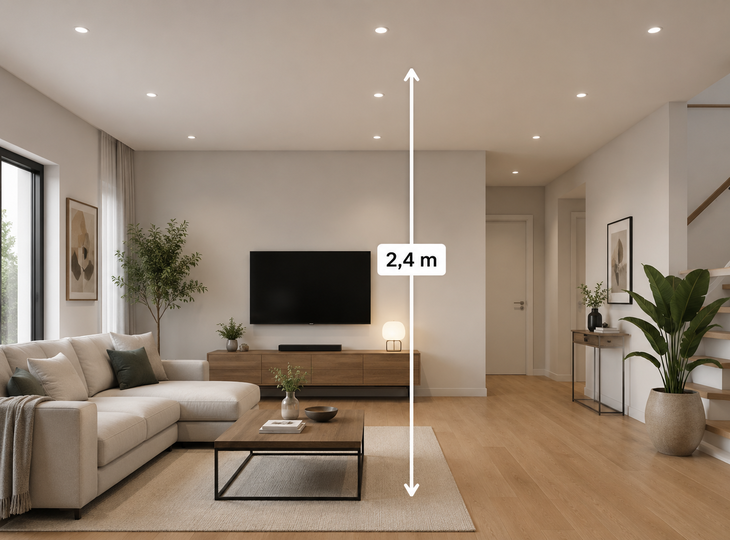
Most homes have ceiling heights of between approximately 2.4 and 2.7 metres. Within this range, LED downlights usually provide uniform lighting provided their luminous flux and beam angle are appropriate.
With a standard ceiling, it is not usually necessary to opt for particularly powerful models. Downlights with a wide beam angle allow rooms to be lit without creating areas of excessive concentration. Furthermore, as they are recessed, they maintain a discreet appearance and do not visually reduce the height of the room.
Downlights for low ceilings
In spaces with ceilings lower than around 2.4 metres, the downlight is closer to people and surfaces. This increases the perceived brightness and makes any glare more noticeable.
It is advisable to choose models with an opal diffuser and uniform light distribution. Downlights are also useful where there is limited clearance above the suspended ceiling, although the space required for the driver, connections and ventilation must be checked.
Wide beam angles generally work well in small areas or passageways, as they distribute the light evenly. A beam that is too narrow can create very pronounced circles and unpleasant contrasts on the floor.
Downlights for high ceilings
Ceilings over 3 metres high require a different approach to lighting design because the light has to travel a greater distance before reaching the intended area. This is a common situation in double-height homes, commercial premises, reception areas, etc.
As the ceiling height increases, the amount of light reaching the floor or a table may be reduced. To compensate for this, downlights with higher lumen output and more directional optics can be used.
Simply increasing the wattage is not always the best solution. Performance also depends on luminous efficacy and beam distribution. An excessively wide angle can scatter the light before it reaches the surface, whilst a medium or narrow beam allows it to be directed with greater precision.
What to do when the ceiling has varying heights
Sloping ceilings or those on multiple levels require specific planning. The same downlight can produce a more concentrated beam at the lower level and a wider beam at the higher level.
To balance the effect, you can use light fittings with different optics or add other adjustable light fittings such as ceiling spotlights. This option is very useful for sloping ceilings as it allows you to direct the beam towards the desired surface.
Suitable height depending on the room
The height should be considered in conjunction with the function of each space:
Kitchen and bathroom
In the kitchen, it is not only the light reaching the floor that matters, but also the light falling on the worktop. In standard-height ceilings, Kitchen LED Downlights can provide general lighting and be complemented by under-cabinet lighting to reduce shadows. If the ceiling is high, the lumens and optics must be checked to ensure the light reaches the work surfaces correctly.
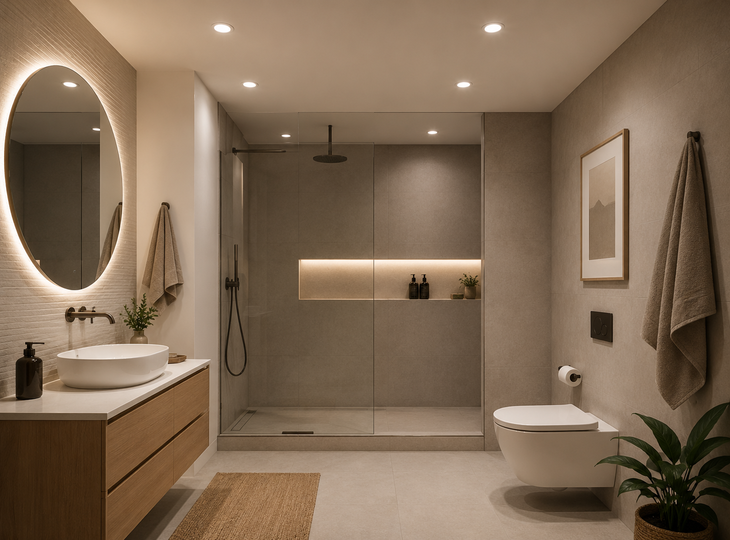
In the bathroom, ceiling height must be considered alongside protection against damp. Bathroom LED Downlights installed near the shower or bath must have the appropriate IP rating. In rooms with low ceilings, it is best to avoid overly visible light sources, as mirrors and glossy surfaces can increase glare.
Living room, dining room and bedroom
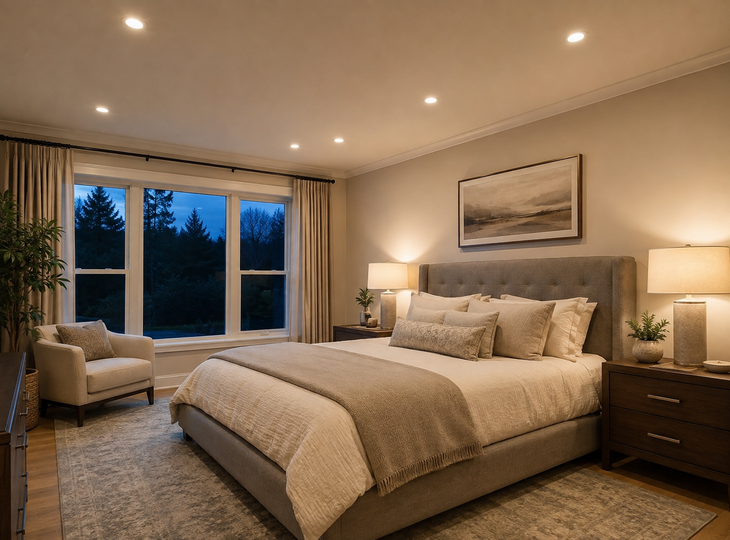
In these rooms, wide-beam downlights work well with standard ceiling heights. In double-height spaces, models with higher lumen output or a more directional beam may be required. In relaxation areas, it is advisable to use dimmable lights and avoid intense spotlights above sofas or beds.
Corridors and staircases
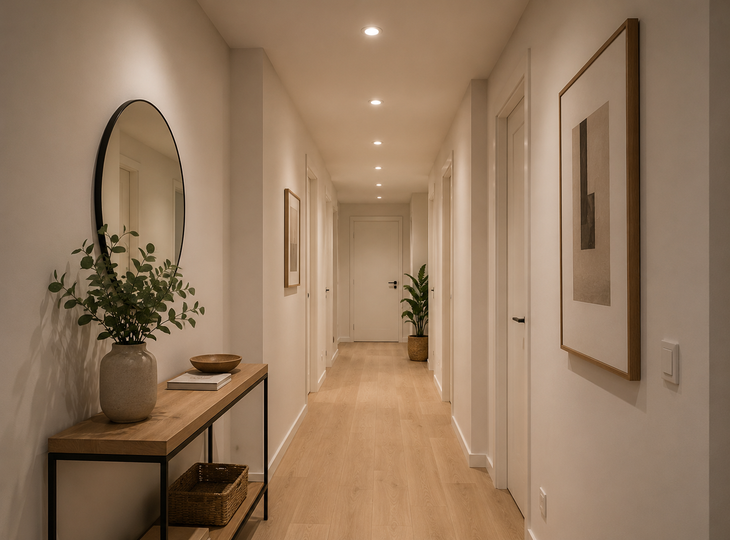
Corridors are usually narrow and, at times, have lower ceilings than the rest of the home. They do not require high-output lighting, but rather continuous lighting without harsh contrasts.
On staircases, the distance from the ceiling to each flight can vary. A light fitting situated above the central void is further from the floor than one placed on a landing. In such cases, it may be useful to combine downlights with side lighting on the walls.
Required recess depth for the downlight
As well as measuring the height of the room, you must check the space available within the false ceiling. This dimension determines the type of downlight that can be installed, particularly in plasterboard ceilings.
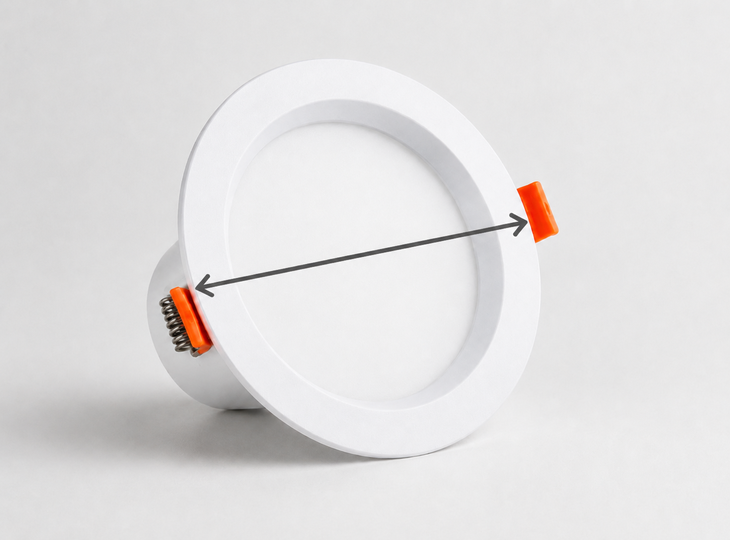
A downlight requires space for its body, the wiring, etc. It is not enough to know the cut-out diameter; you must also check the total height specified by the manufacturer.
Before drilling the hole, it is advisable to check for any potential obstacles. An opening with the correct diameter will be of no use if the light fitting’s body collides with the structure above the ceiling.
Height and glare control
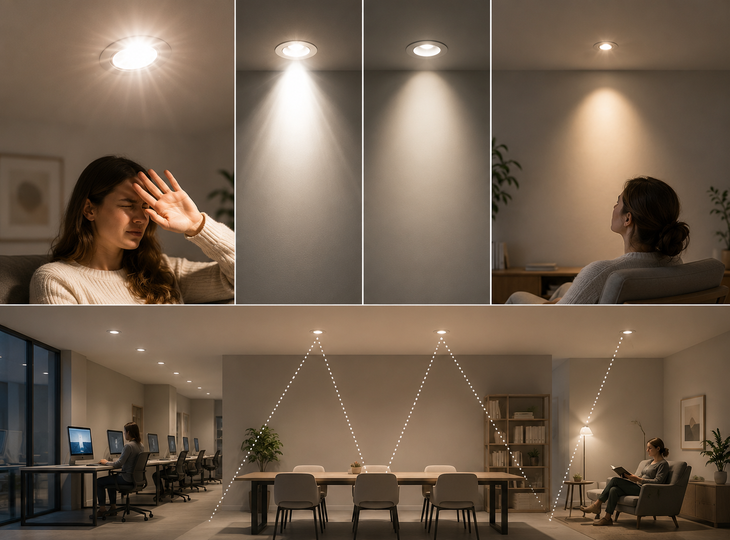
Glare occurs when a light source is too bright within the field of vision. Height is a factor because the closer the downlight is, the more visible the LED spot may be.
To reduce this effect, models with an opal diffuser or anti-glare optics can be selected. In offices, classrooms and retail premises, it is also advisable to check the UGR value where it appears in the technical specifications.
The typical position of people should also be taken into account. A downlight positioned above a rest area may be distracting even if it provides sufficient light. Dimming adjusts the brightness, but does not fully compensate for an unsuitable optical design.
How to plan the installation correctly
The first step is to measure the height from the ceiling to the floor and to the main work surfaces. Next, the requirements for each area must be defined, and the lumens, beam angle, colour temperature and glare control must be checked.
You must also check the depth of the suspended ceiling, the height of the luminaire and the space required for the driver.
The layout of the light points should be considered separately. To find out how to arrange the lights and what spacing to leave between them, you can consult our guide on the spacing between LED downlights.
Before installation, you must check the ceiling structure, switch off the power supply and follow the manufacturer’s instructions.
How to determine the correct installation height for a downlight
The correct height for installing an LED downlight depends on the ceiling, the use of the space and the characteristics of the light fitting. In low ceilings, glare and the recessed depth must be controlled, whilst in high ceilings, more lumens and more directional optics may be required.
Measuring the room and checking the luminous flux, as well as the other characteristics mentioned, will ensure an efficient installation tailored to each space.