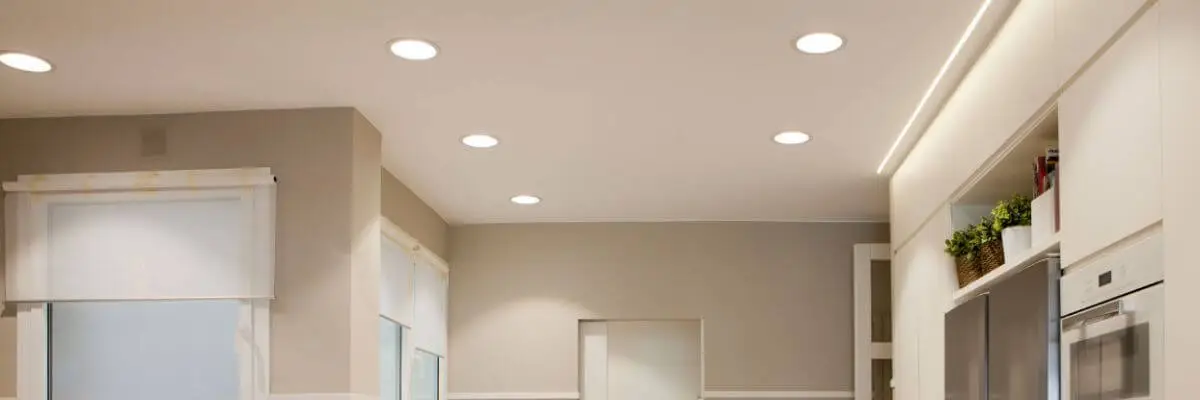
Like other technologies applicable to people’s daily lives, LED technology has been evolving and being optimized. The arrival of LED downlight panels was a revolution when it came to installing light points in the home, as they offered superior light performance compared to previous lighting solutions, such as fluorescent tubes or halogen lights. Savings, efficiency and ease of installation are the great advantages of installing a downlight.

Considerations prior to downlight installation
We are going to offer you a simple guide to help you in an installation already quite simple, but in which it never hurts to have some advice, so we will start by listing the tools we will need:
- The first thing we need obviously is our new LED downlight plate, in efectoLED you have a wide range of sizes, powers and finishes.
- Remember that we work in a ceiling installation, so we must have a safe and stable working ladder.
- If we are going to replace a ceiling with a LED downlight of the same size, we have the advantage that there is already a hole in the ceiling, so we only need to know the diameter with a tape measure.
- In case there is no previous hole, we will need a drill accessory called a circle cutter, which will allow us to make a perfect and regular cut.
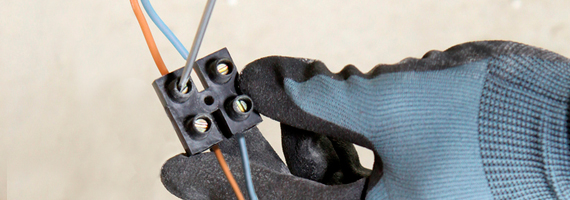
- We will also need a flat-blade screwdriver, which will be used to connect the Driver cables to the power strip.
- If by characteristics of the previous installation it is necessary to reduce the length of the cables, we will use a wire stripper.
- We have dimmers as an option when installing a downlight, which will help us to adapt the luminous flux to our taste.
How to install a downlight
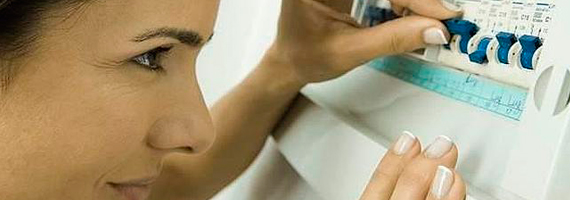
1. Disconnect the electrical current
The first step will be to disconnect the electrical energy from our differential, to be able to work safely. Remember that the switches of a room, only cut the cable of the return for what they leave in tension the cable of the phase.
2. Remove the old light fixture
With the help of a ladder we remove the old luminaire from its location and disconnect it from the mains. We must remove any component (transformer, reactance, etc…) that accompanied the previous ceiling or halogen, since our downlight has its own driver.
In case we need to enlarge the hole needed for the installation or make a new one, we would use the drill and its circle cutter accessory to drill the ceiling.
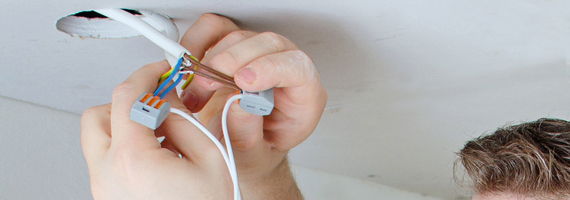
3. Connecting the driver
We connect the driver of our new LED downlight to the electrical installation. Remember that the Phase wires are usually brown, black or gray and the Neutral wires are blue (for more information see our post on the colors of electrical wires).
Connected the Driver to the current, we make the connection to the LED Downlight board. Now we have the installation of our board ready, we only have to reconnect the power and check that it works correctly.
4. Placing the downlight in the ceiling
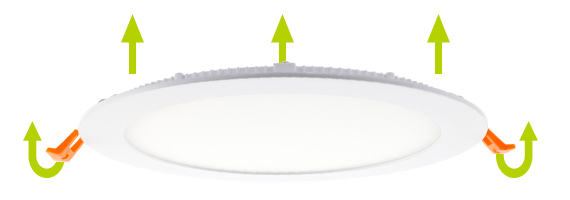
The last step is to embed the downlight in the ceiling, for this we bend up the side tabs of the plate, so that they pass through the hole. When the downlight is installed, the tabs will be hidden and will press against the ceiling to keep the plate in place.
As you can see, it is very easy to enjoy the advantages of LED downlight panels, thanks to their ease of installation. Stay tuned to our lighting blog to discover new tips on how to get the most out of LED lighting.