Ceiling lighting plays a key role in the distribution of light and in the perception of any space. Although ceiling lights, pendant lights and recessed spotlights have traditionally been used to light rooms, there are other alternatives that allow you to create softer, more balanced atmospheres.

One such alternative is indirect ceiling lighting, a technique that utilises the reflection of light off various surfaces to achieve diffused lighting, without the light source being directly visible.
Table of Contents
- What is indirect ceiling lighting and how does it work?
- Advantages of using indirect ceiling lighting
- How to create indirect ceiling lighting: key solutions
- How to install indirect LED ceiling lighting, step by step
- How much light is needed to indirectly illuminate a ceiling?
- How to achieve indirect ceiling lighting without building work
What is indirect ceiling lighting and how does it work?
Indirect lighting is where light reaches the space after being reflected off a surface, rather than being projected directly from the light fitting towards the area to be illuminated.
In the case of ceilings, this effect is achieved by positioning the light sources strategically, usually concealed within mouldings, cornices or architectural features.
The light is directed towards the ceiling, which acts as a reflective surface and distributes it throughout the rest of the room.
Unlike direct lighting, where the luminous flux is concentrated on a specific area, indirect lighting produces a more diffuse distribution.
For example, an LED strip fitted to a perimeter cornice can direct its light towards the ceiling surface. This reflects part of the luminous flux and creates a sense of brightness without the LEDs being visible.
The final result depends on various factors, such as the power and luminous flux of the luminaires, the orientation of the light source and the distance from the reflective surface. The colour and finish of the ceiling also play a role, as do the dimensions and characteristics of the room, as these elements determine how the light is reflected and distributed throughout the space.
Therefore, simply concealing a light fitting is not enough to achieve adequate indirect lighting. It is essential to plan its position and orientation to ensure an even distribution of light and to achieve the necessary lighting levels in each room.
Advantages of using indirect ceiling lighting
Indirect lighting offers both aesthetic and functional benefits. Its main feature is that it allows a room to be lit without relying exclusively on directly visible light sources.
It reduces glare and softens shadows
By directing light towards the ceiling and utilising its reflection, direct exposure to intense light sources is avoided.
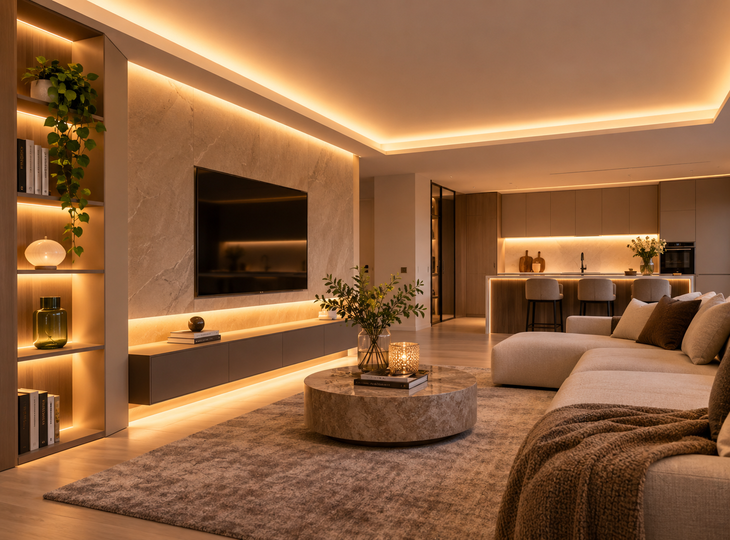
This can improve visual comfort, particularly in spaces intended for relaxation or activities such as watching television.
Furthermore, diffuse lighting reduces the presence of harsh shadows, although its effectiveness will depend on the uniformity of the installation and how it is combined with other light fittings.
ⓘ Illustrative contextual content generated or edited using AI (Art. 50 AI Act).
It enhances the sense of spaciousness
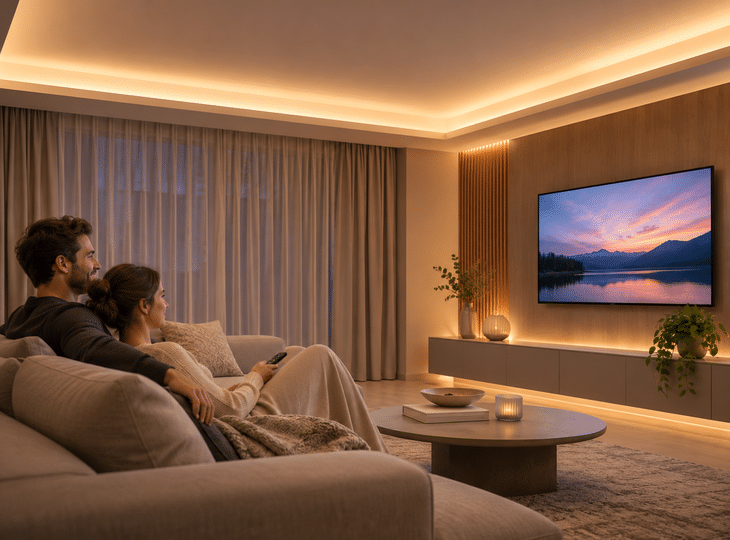
When light is distributed across the ceiling and the upper sections of the walls, these surfaces take on greater visual prominence.
This effect can make a room appear more open and spacious, particularly when light colours and even lighting are used.
On ceilings with perimeter recesses, it is also possible to create a visual effect of a floating ceiling, as the light appears to separate the upper surface from the walls.
It allows you to create different atmospheres
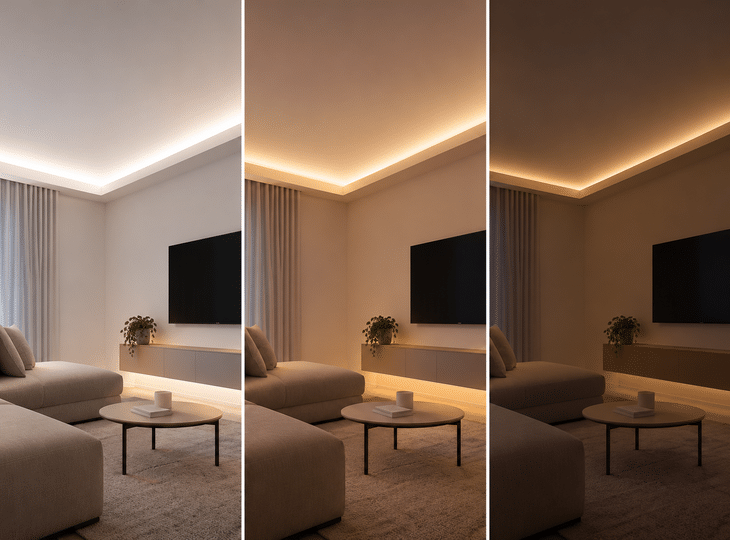
Indirect lighting is particularly effective when combined with dimmable systems.
In this way, a single installation can provide bright lighting for everyday activities and soft lighting for moments of relaxation.
It is also possible to use different colour temperatures to adapt the ambience to the characteristics and needs of each room.
ⓘ Illustrative contextual content generated or edited using AI (Art. 50 AI Act).
It blends easily into the décor
Another advantage is its discreet nature. By concealing the light sources, the lighting becomes an integral part of the space’s architecture.
This helps to maintain a clean aesthetic and minimise the presence of visible elements on the ceiling, something particularly valued in minimalist and contemporary interiors.
How to create indirect ceiling lighting: key solutions
There are various systems for installing indirect lighting, ranging from solutions that require modifications to the ceiling to alternatives that can be fitted without major building work.
The choice will depend on the available ceiling height, your budget, the characteristics of the room and the desired effect.
1. Indirect lighting with LED strips
LED strips are one of the most versatile solutions for creating indirect lighting on the ceiling, thanks to their compact size and the ability to be fitted along linear or perimeter routes.
They can be installed in mouldings, cornices, recesses and other features that conceal them from direct view.
Their main advantage is that they make it easy to create continuous lines of light, capable of illuminating large areas without the need to install numerous individual light points.
To achieve a uniform result, it is advisable to use suitable profiles and ensure that the LEDs do not cast light spots that are too concentrated onto the ceiling.
It is also advisable to select the strip based on its luminous flux per metre, colour temperature, power and dimming capabilities.
In large-scale installations, it is important to plan the power supply to avoid differences in brightness between different sections.
Recommended products
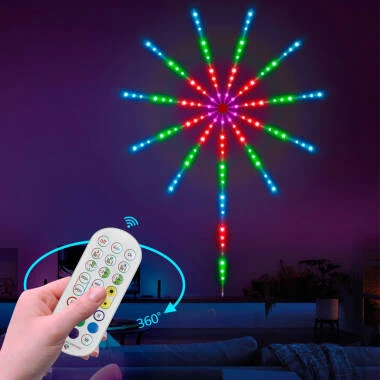
In Stock, delivery in 24/48h
15.59 £
LED Strip Digital SPI in RGBIC KIT Firework Effects with APP and Remote Control
View product
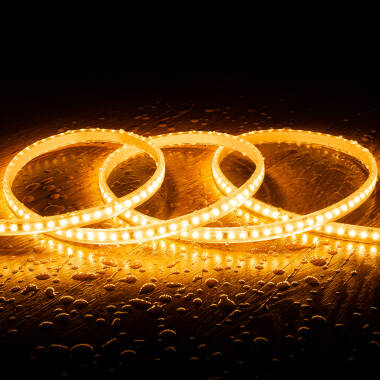
In Stock, delivery in 16-21 days
19.99 £
220V LED Strip Autorectified SMD Dimmable 120LED/m 10W/m 1000lm/m 12mm Wide Cut at Every 10cm IP65 Custom Length
View product
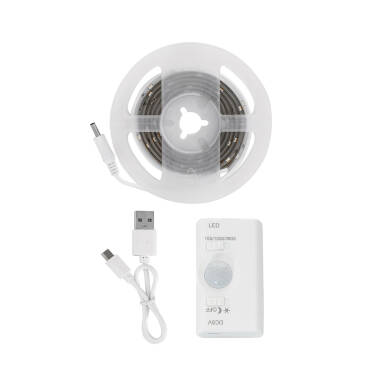
In Stock, delivery in 15-20 days
11.99 £
1m LED Strip with Motion Sensor 30LED/m IP20 Rechargeable Battery
View product
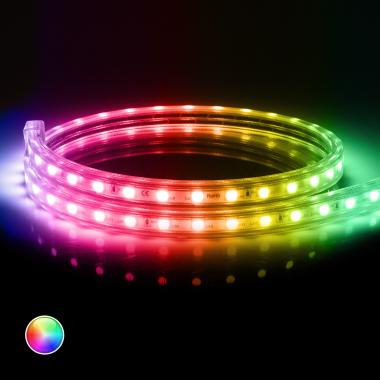
In Stock, delivery in 16-21 days
159.99 £
220V LED Strip SMD in RGB 60LED/m 10W/m 16mm Wide Cut at Every 100cm with IR Remote IP65 Custom Length
View product
2. Indirect lighting using suspended ceilings
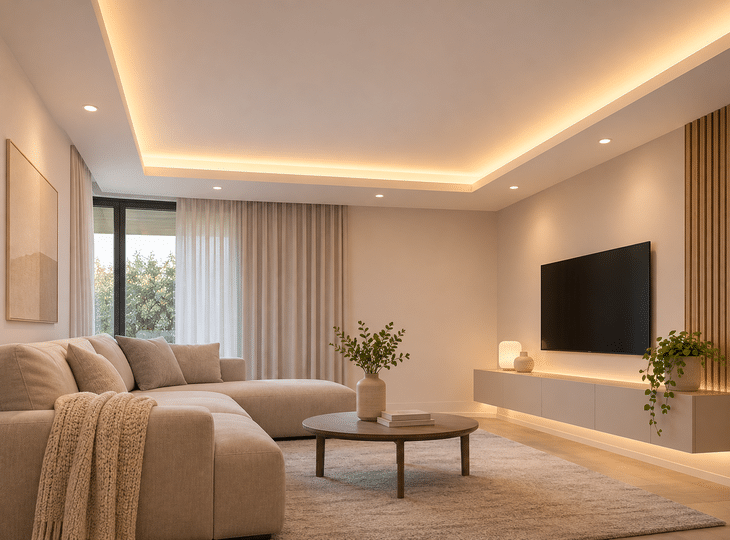
Suspended ceilings made of plasterboard or laminated plaster allow indirect lighting to be integrated into the architectural structure itself.
One of the most commonly used techniques involves creating a perimeter recess – that is, a space or indentation in the ceiling where the concealed light fittings are fitted.
From this position, the light is projected towards the ceiling and reflected diffusely.
This system allows for particularly clean and bespoke finishes. Furthermore, it makes it easier to combine indirect lighting with downlights, recessed lights or other direct lighting systems.
However, it requires advance planning of the structure, the wiring and the spaces set aside for the power supplies.
It should also be borne in mind that the installation may partially reduce the headroom in the room.
ⓘ Illustrative contextual content generated or edited using AI (Art. 50 AI Act).
3. Cornices and mouldings for indirect lighting
Mouldings and cornices designed to incorporate LED lighting are an attractive alternative when one does not wish to completely alter the ceiling.
These elements are normally fitted at the junction between the wall and the ceiling, leaving a concealed space in which to fit the LED strips.
The light is directed upwards and reflected off the ceiling surface, creating soft ambient lighting.
Mouldings are available in a range of materials and finishes, some of which are designed to incorporate aluminium profiles and light diffusion systems.
This solution is particularly suitable for partial refurbishments or for homes where the aim is to improve the lighting without carrying out major structural work.
However, it is essential to select mouldings that are compatible with the thermal and dimensional characteristics of the LED system.
4. Recessed LED profiles and linear systems
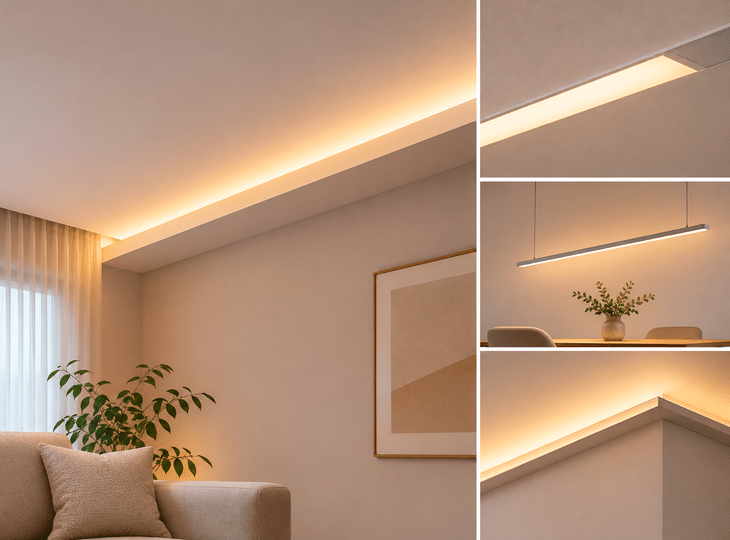
Aluminium LED profiles allow light strips to be installed in different positions and provide a more protected and professional finish.
In indirect lighting projects, they can be integrated into grooves, suspended elements or structures that direct the light towards the ceiling.
Aluminium profiles help to dissipate the heat generated by the LED strips and, when fitted with diffusers, help to soften the appearance of the light sources.
There are surface-mounted, recessed and corner models available, making it possible to adapt the direction of the light to the project’s requirements.
It is important to distinguish between a visible LED strip, which normally provides direct lighting, and a concealed linear system that directs its light towards a reflective surface.
ⓘ Illustrative contextual content generated or edited using AI (Art. 50 AI Act).
5. Wall lights and indirect lighting fixtures
It is not always necessary to install LED strips to provide indirect lighting on the ceiling.
Some wall lights and pendant lights are designed to direct some or all of their light upwards.
Upward-facing wall lights can illuminate the ceiling from the walls, whilst certain pendant lights combine direct and indirect light.
These options allow you to incorporate reflected lighting without having to install mouldings or false ceilings.
They are particularly useful in rooms where the aim is to complement existing lighting or enhance the brightness of specific areas.
How to install indirect LED ceiling lighting, step by step
To achieve uniform and long-lasting lighting, it is necessary to plan both the aesthetic aspects and the technical specifications of the installation.
Although each system has its own specific features, there are several common steps that should be followed.
Step 1. Determine which areas you wish to light
Before selecting the light fittings, you need to define the purpose of the installation.
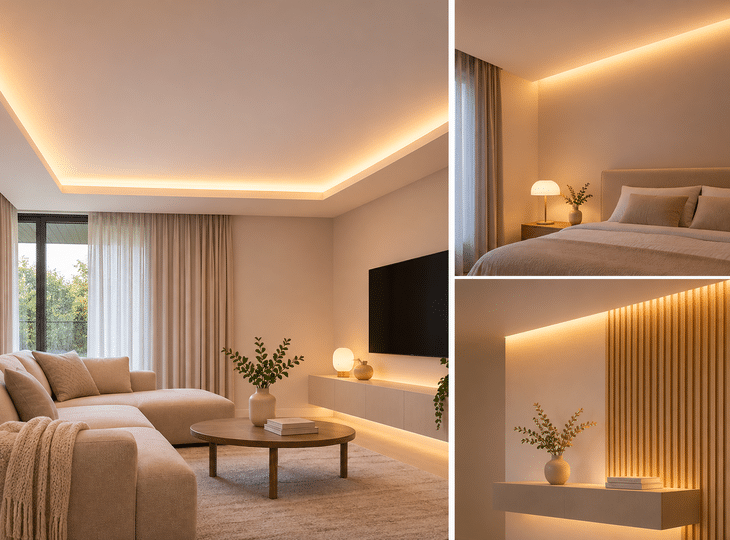
Indirect lighting can be used as ambient lighting, to complement general lighting, or as a decorative feature to highlight architectural elements.
For example, in a living room, an LED strip can be installed around the perimeter to provide background lighting.
In a bedroom, on the other hand, it may be sufficient to indirectly illuminate a specific area of the ceiling to create a relaxing atmosphere.
It is also important to decide whether the installation will be the main source of light or whether it will be combined with other light fittings.
ⓘ Illustrative contextual content generated or edited using AI (Art. 50 AI Act).
Step 2. Choosing the location of the light fittings
The position of the light source determines how the light is distributed across the ceiling.
When using LED strips, they should be concealed from typical viewing positions, such as the entrance to the room, the sofa or the bed.
On a cornice, it is best to direct the light towards the ceiling and leave enough space for it to spread out before being reflected.
As a starting point, a gap of approximately 10 to 15 centimetres between the LED strip and the ceiling can help achieve a more even distribution in certain set-ups.
However, there is no one-size-fits-all distance. The result will depend on the moulding’s geometry, the beam angle and the characteristics of the LED strip.
It is therefore advisable to carry out a lighting test before permanently fixing the components in place.
Step 3. Selecting the right LED strips
Not all LED strips offer the same performance.
To make the right choice, you need to check several technical specifications:
- Luminous flux (lm/m): indicates how much light each metre of LED strip emits.
- Power (W/m): indicates the power consumption per metre.
- Colour temperature (K): determines whether the light appears warm, neutral or cool.
- Colour rendering index (CRI): reflects the light source’s ability to reproduce the colours of objects compared to a reference.
- IP rating: indicates its resistance to the ingress of solids and water.
- Dimmability: allows the light output to be adjusted when the system components are compatible.
It is also worth considering the technology used.
COB LED strips offer a particularly continuous light output, whilst SMD strips may display individual light points if the spacing between the diodes, the diffuser or the distance to the surface is not suitable. By comparison, conventional LED strips may produce more defined points of light, depending on the density of the diodes and the type of diffuser used.
Both options produce good results, although COB strips make it easier to create uniform lines of light, particularly in mouldings, cornices and aluminium profiles.
Step 4. Install the profiles and prepare the connections
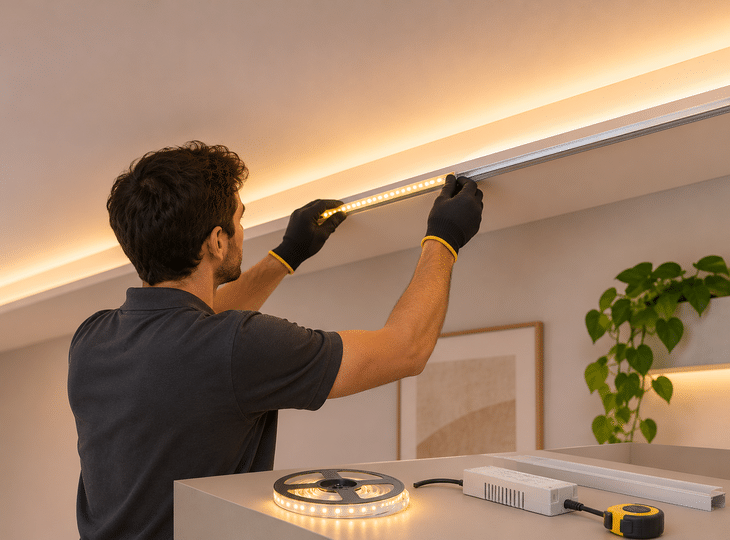
Once the location has been decided, proceed to fit the profiles, brackets or mouldings.
The surface must be clean, dry and prepared to ensure a secure fix.
In the case of LED strips, it is important to follow the cutting points specified by the manufacturer and avoid bending them to a radius smaller than that permitted.
You must also select a power supply that is compatible with the operating voltage and the total power consumption of the installation.
For example, an installation comprising 8 metres of LED strip with a power rating of 10 W/m will have a nominal power consumption of 80 W.
If a 20 per cent safety margin is applied, a power supply with a capacity of approximately 96 W or more would be required, whilst always adhering to the manufacturer’s specifications.
The power supply must be positioned to allow for adequate ventilation and to facilitate future maintenance work.
Connections to the property’s electrical installation must be carried out by qualified professionals.
ⓘ Illustrative contextual content generated or edited using AI (Art. 50 AI Act).
Step 5. Check the electrical layout
Before completing the installation, it is advisable to switch on the system and observe how the light is distributed.
You must check that there are no excessively bright areas, uneven shadows or differences in brightness between sections.
It is also important to check that the LED strips are not visible from the usual vantage points in the room.
If any issues with uniformity are detected, it may be necessary to adjust the orientation, the distance from the ceiling or the type of diffuser.
Carrying out these checks before closing off a suspended ceiling or completing the finishing touches makes it easier to correct any potential errors.
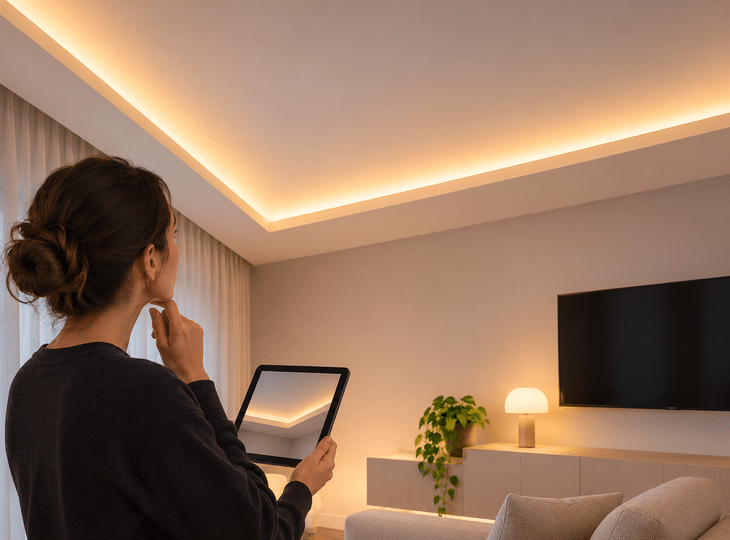
ⓘ Illustrative contextual content generated or edited using AI (Art. 50 AI Act).
How much light is needed to indirectly illuminate a ceiling?
One of the most important aspects when designing this type of installation is calculating the amount of light required.
To do this, it is important to distinguish between lumens, which express the luminous flux emitted by a light source, and lux, which indicate the illuminance received by a surface.
One lux is equivalent to one lumen per square metre.
As a starting point, the following levels of general lighting in homes may be considered:
| Room | Recommended illuminance |
| Living room | 100–200 lux |
| Bedroom | 100–150 lux |
| Dining room | 150–200 lux |
| Kitchen | 200–400 lux |
| Bathroom | 200–300 lux |
| Hallways | 100–150 lux |
These figures are approximate and should be adjusted to suit the activities carried out in each space.
Furthermore, in an indirect lighting system, not all the lumens emitted by the LED strips reach the surfaces to be illuminated.
Part of the luminous flux is lost due to light being absorbed by the ceiling, walls and other elements.
Therefore, it is incorrect to calculate indirect lighting simply by multiplying the lumens of the LED strip by its length and assuming that all of that luminous flux will illuminate the room.
To size the installation correctly, one must take into account the reflective properties of the surfaces, the light distribution and the geometry of the room.
How to achieve indirect ceiling lighting without building work
Indirect ceiling lighting is a solution that combines functionality and aesthetics, allowing you to create more welcoming and visually balanced spaces. Thanks to the versatility of LED strips, aluminium profiles and mouldings, it is possible to adapt this type of lighting to different rooms, both in refurbishment projects and in installations that do not require major building work.
To achieve the best possible result, it is essential to plan the placement of the light fittings carefully, choose a suitable colour temperature and ensure an even distribution of light. Furthermore, combining indirect lighting with other light sources allows you to create versatile atmospheres that adapt to the needs of each space.