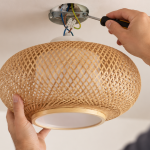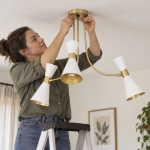

A ceiling light that isn’t working may be due to something as simple as a burnt-out bulb or a problem with the electrical connection, the switch or the lighting system itself. Before replacing the entire light fitting, it is worth identifying what is faulty and checking the basic components of the installation.

Table of Contents
Why isn’t my ceiling light working?
When a light stops coming on, it’s easy to immediately assume that the light fitting itself has broken. However, there are various components between the fuse box and the light source itself that could be causing the fault.
Among the most common causes are a burnt-out or incorrectly fitted bulb, a faulty LED bulb, a loose connection in the light fitting, a problem with the wall switch, or a fault in the electrical circuit itself.
The simplest way to find the problem is to start with the least invasive checks and work your way through step by step.
Recommended products
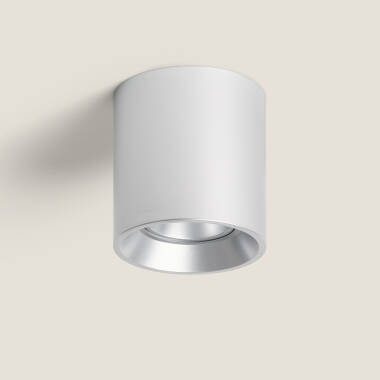
In Stock, delivery in 15-20 days
5.29 £
Quartz White Ceiling Light
View product
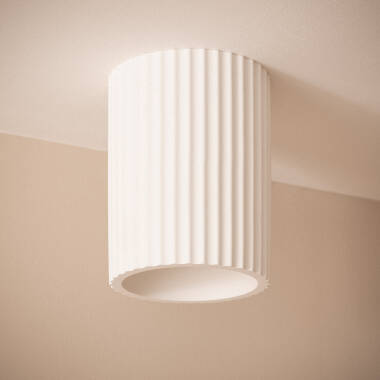
In Stock, delivery in 15-20 days
15.89 £
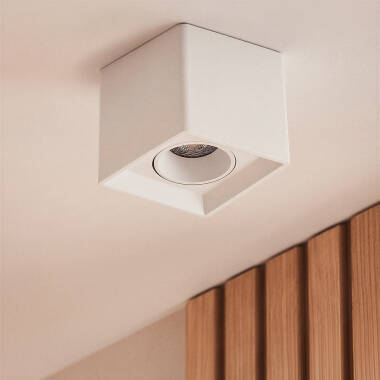
Colum Plaster Ceiling Light
View product
In Stock, delivery in 24/48h
5.29 £
Jaspe White Ceiling Light
View product
In Stock, delivery in 24/48h
17.99 £
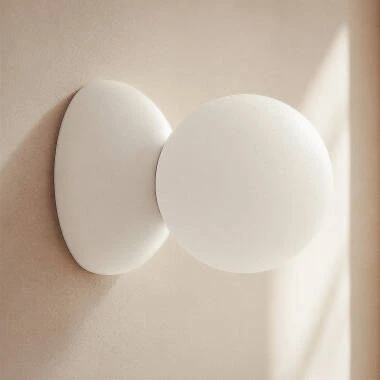
Deyla Plaster Ceiling Light
View product
How to fix a ceiling light that isn’t working
To find out how to fix a ceiling lamp that isn’t working, it’s important to first identify the source of the problem. Below, we go through the most common issues and how to resolve them.
1. Check whether the bulb has blown
If the light fitting uses one or more replaceable bulbs, this should be one of the first things you check.
A light bulb may stop working when it reaches the end of its useful life, but it may also fail prematurely due to high temperatures, electrical faults or incorrect installation.
If the light fitting has several bulbs and only one of them fails to light up, it is particularly likely that the problem lies with that specific bulb rather than with the overall installation.
2. Check the light fitting
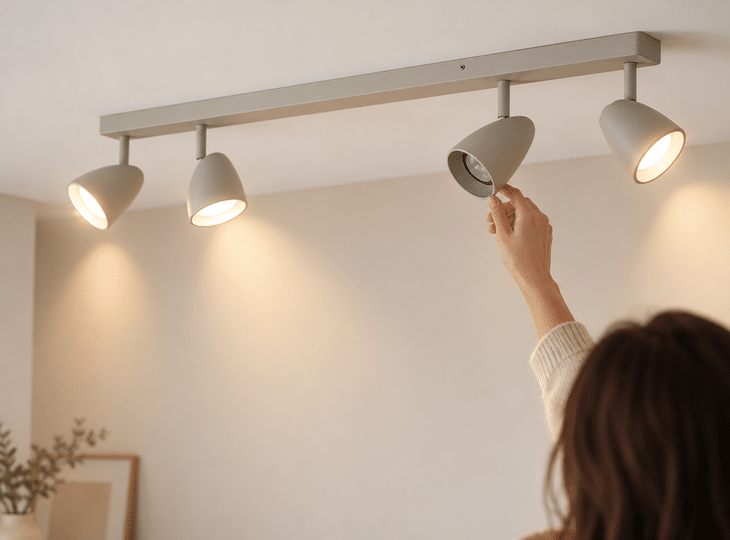
Ceiling lamps with spotlights allow you to direct the light towards different areas and may incorporate two, three, four or more light sources.
When one of the spotlights stops working but the others remain lit, the problem is usually with that specific spotlight.
Firstly, check the light source. If the spotlights use GU10 bulbs, for example, you can temporarily swap two compatible bulbs to check whether the fault lies with the bulb or with the socket itself.
The procedure for changing a light bulb in a ceiling light depends on the design of the light fitting.
In models with GU10 bulbs, you usually need to twist the bulb slightly to release it from the socket. Other systems may incorporate rings, clips or retaining mechanisms.
Once removed:
- check the type of socket
- replace the bulb with a compatible one
- check that it is correctly fitted
- only reconnect the power supply once assembly is complete.
If the new bulb still does not work whilst the rest of the light fitting does, the fault may lie with the bulb holder, the internal wiring or another component of the light fitting.
3. Check the driver
Designer LED flush ceiling lights are a popular choice for general lighting as they take up little space and provide even light distribution.
Nowadays, many ceiling lights feature built-in LED technology. This means they do not use a conventional bulb that can be unscrewed and replaced directly.
These models mainly consist of two components: the LED module or board and the driver or power supply.
The driver converts and regulates the electrical power required by the LED system. If it fails, the ceiling light may stop working even if the LEDs are in good working order.
Some signs that may indicate problems with the driver include the light not coming on; taking a long time to come on; flickering abnormally; or switching off after a few minutes.
However, these symptoms alone are not sufficient to determine which component is faulty.
If the ceiling light has a built-in LED, avoid replacing internal components without first checking the manufacturer’s specifications. The replacement driver must be compatible with the LED module’s electrical specifications.
4. Check the fuse box
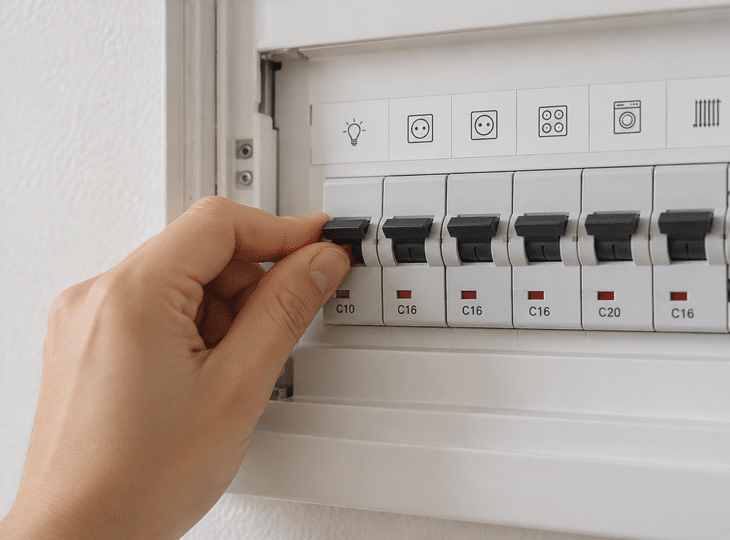
If a light fitting that was working correctly suddenly stops coming on, check the property’s fuse box.
The circuit breaker for the lighting circuit may have tripped.
If you find a tripped circuit breaker, you shouldn’t simply keep resetting it repeatedly. A trip may have been caused by a one-off incident, but if it happens again, there could be a fault in the circuit or in one of the connected appliances.
In that case, it is advisable to identify the cause before continuing to use the installation.
If, in addition to the lamp, other light fittings in the home have stopped working, this increases the likelihood that the problem does not lie with the light fitting itself.
5. Check whether the problem is with the switch
Sometimes the light fitting is in perfect working order, but it is the mechanism that turns it on that is faulty.
A faulty switch may prevent the current from reaching the light fitting properly.
Some signs that this component needs checking include the switch having play; it only working when set to certain positions; an unusual noise being heard; or the switch becoming excessively hot.
Checking the internal wiring of a switch involves working on the electrical installation, so it must be carried out with the power switched off and only if you have the necessary knowledge.
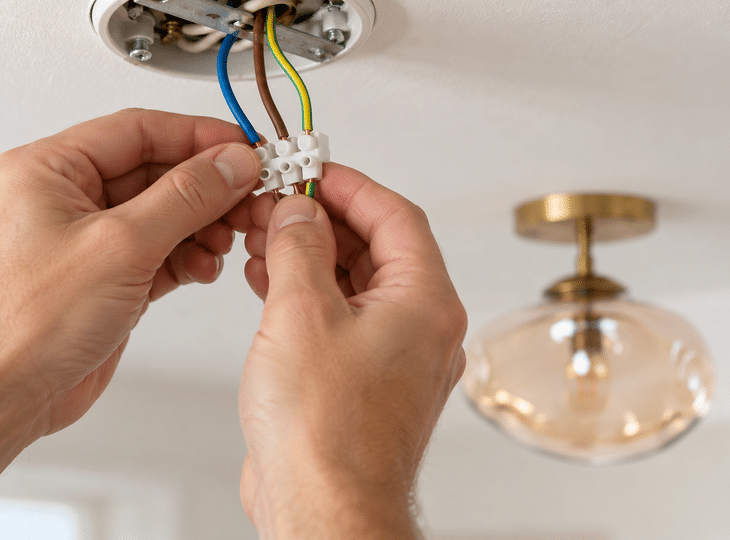
6. Check the lamp connections
If you have just installed the light fitting and it has never come on, an incorrect connection is one of the first possibilities you should consider.
In a standard domestic installation, there is usually a live wire, a neutral wire and, where applicable, an earth wire. If you are unsure about the function of each wire, you can consult our guide on how to identify and connect the wires in a ceiling light, where we explain their characteristics and the main precautions you should bear in mind.
The wires must be securely fastened inside the light fitting’s terminal or connector. A loose connection can prevent the fitting from working properly and must not be left in use.
Before checking these connections, it is essential to switch off the power at the fuse box. You should also avoid relying solely on the colour of the wires to identify the conductors, particularly in older or previously modified installations.
The light flickers but does not stay on
Not all faults cause the light to go out completely. Flickering can also indicate that something is not working properly.
In an LED lamp, this may be due to a faulty driver, a poor-quality or defective bulb, or an unstable connection, amongst other things
If the flickering only occurs when using a dimmer switch, check that the light fitting, bulb and driver are all compatible with dimming. Not all LED light fittings can be used with every type of dimmer switch.
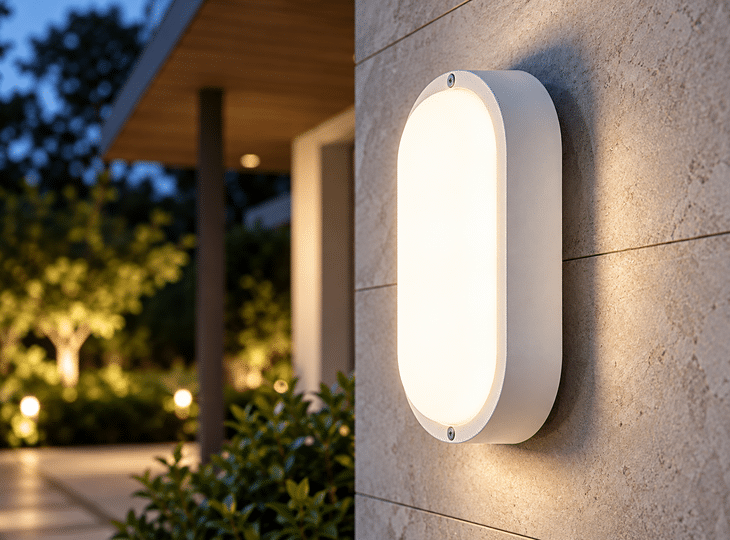
Can an outdoor light stop working due to damp?
Yes. Outdoor ceiling lights are exposed to very different conditions to indoor lights.
For these areas, it is essential to use products with an IP rating suitable for the installation location.
Water or moisture ingress can damage electrical components and cause faults. If you notice condensation, traces of moisture or water inside a light fitting, do not handle it whilst it is powered on.
Switch off the circuit and check the condition of the product and the installation before using it again.
A light fitting intended exclusively for indoor use should not be installed in an area exposed to damp or rain.

How do I know if I need to replace the entire light fitting?
Before you consider replacing it, you can rule out the simplest faults.
In a light fitting with replaceable bulbs, changing a faulty bulb is usually a simple repair. However, if there is an internal problem with a built-in LED light fitting, you should check whether the manufacturer supplies spare parts and whether the component can be replaced safely.
It may make sense to replace the light fitting when:
- The integrated LED system has reached the end of its service life;
- There are no compatible spare parts;
- There are damaged internal components;
- The cost of repair is unreasonable;
- There is damage to the casing, connections or insulation;
- The manufacturer states that the components cannot be replaced.
Do not open or modify a light fitting if it is not designed to be done so.
If you do eventually need to replace the light fitting, it is important to choose a model that suits the characteristics of the room. In our guide to types of ceiling lights, you will find different options to suit the lighting needs of each room.
Get your ceiling light working again
In short, when a ceiling light isn’t working, it’s essential to identify the cause of the fault before making any decisions. As we have seen, many of the most common problems have simple solutions, whilst others require a more specialised inspection. Carrying out a proper diagnosis and always prioritising safety will help you determine whether it is possible to repair the light fitting or whether it is time to replace it.