
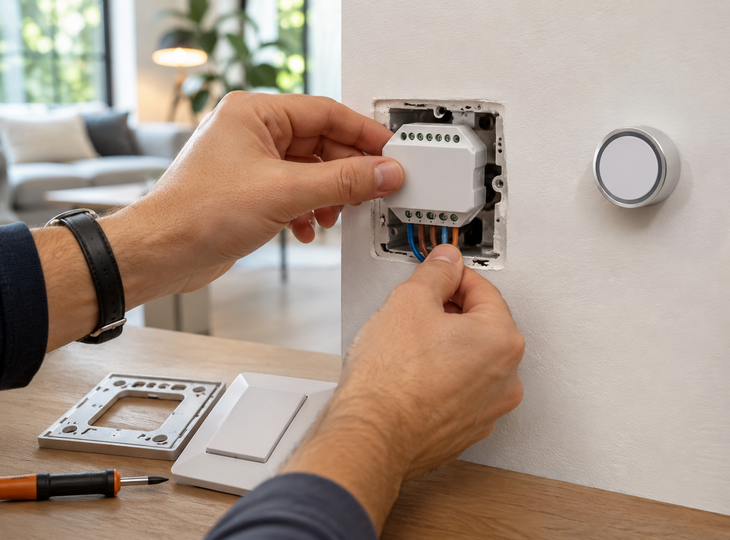
Installing a wireless switch is a practical solution for controlling lighting without having to cut grooves in the walls or run new cables to the control point. These devices allow you to switch the lights on and off from different locations, making it easier to adapt an electrical installation to new requirements.

They are particularly useful in refurbished homes, rooms where a second switch is required, or spaces where modifying the existing wiring would involve significant building work.
Table of Contents
- What is a wireless switch and how does it work?
- Types of wireless switches according to how they work
- What you need to install a wireless switch
- Step-by-step guide to installing a wireless switch
- Step 1. Choose the switch’s location
- Step 2. Check system compatibility
- Step 3. Prepare the receiver or control module
- Step 4. Connect the receiver to the lighting circuit
- Step 5. Fit the push-button or set up the wireless remote control
- Step 6. Pair the switch with the receiver
- Step 7. Check that it is working properly
- Common problems when installing a wireless switch
- A practical solution for controlling lighting with greater flexibility
What is a wireless switch and how does it work?
A wireless switch is an electrical mechanism that allows you to control a light fitting or a lighting circuit without the need for a physical electrical connection between the switch and the device that carries out the command.
Unlike conventional switches , which directly open or close an electrical circuit via their contacts, wireless models transmit a signal to another device responsible for carrying out that function. This feature sets them apart from other types of switches, whose operation and applications vary depending on the control mechanism used.
The system usually consists of two main components: a transmitter and a receiver.
The transmitter is the switch that the user operates to switch the lighting on or off. When pressed, it transmits a command via radio frequency or another compatible communication protocol.
The receiver picks up this signal and, depending on the system, either switches the power to the light fitting on or off, or sends a control command to a smart bulb.
For example, if we want to install a switch next to the bed to switch off the bedroom light, we can fit a wireless push-button switch in that location and pair it with a compatible receiver that controls the existing lighting.
In this way, it is possible to add a new control point without running electrical cables to the wall where the push-button is situated.
However, it is important to distinguish between a completely wireless installation from a control perspective and one that requires work on the electrical circuit. Even if the push-button has no wires, the receiver may need to be connected to the mains.
Recommended products

In Stock, delivery in 15-20 days
9.29 £
Recessed Mini Tactile Dimmable Controller Switch for 12/24V DC LED Strip
View product

In Stock, delivery in 15-20 days
27.99 £
MH10 Merrytek Controller
View product

In Stock, delivery in 15-20 days
11.95 £
Remote Control for WiFi CCT Selectable LED Ceiling Lights
View product

In Stock, delivery in 24/48h.
41.99 £
Triac LED Dimmer Kit with RF Wireless Remote Control
View product
Types of wireless switches according to how they work
Before installing a wireless switch, it is important to understand the different technologies available. Your choice will determine both the installation process and the control options.
Wireless switches with RF remote control
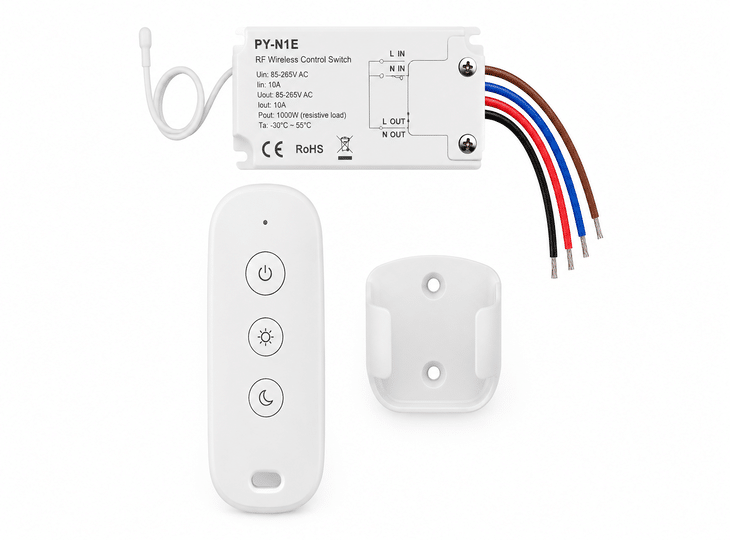
Switches with radio-frequency (RF) remote control allow you to switch the lighting on and off using a transmitter that sends commands to a compatible receiver.
One of their main advantages is that they do not require an internet connection to work, as communication takes place directly via radio signals.
These systems can be particularly useful when you want to control a light fitting from a location other than where the conventional switch is situated, without having to run additional wiring to the new control point.
Some models are sold as sets that include both the receiver and the remote control, making it easier to choose compatible components.
For example, simple switches with RF remote control allow you to incorporate a remote on/off system, provided that the electrical specifications and installation conditions specified by the manufacturer are adhered to.
Wi-Fi switches and control modules
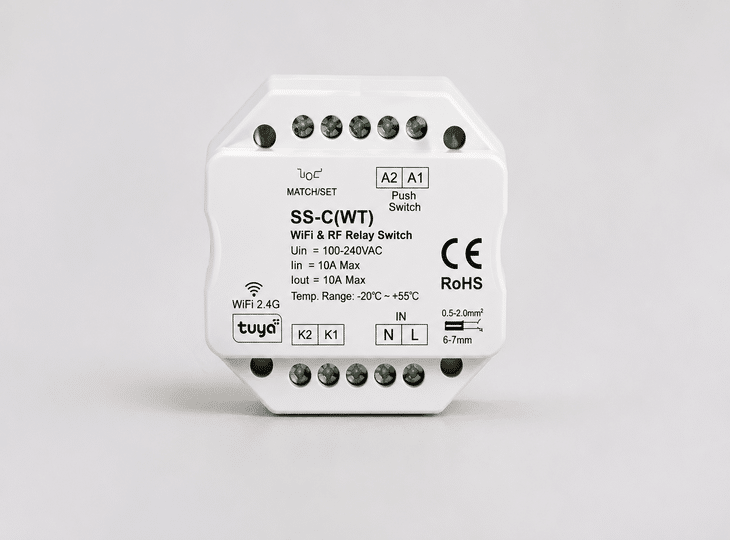
Wi-Fi control modules allow you to manage the operation of your lighting via a compatible wireless network.
Unlike conventional RF switches, these devices can incorporate additional features, such as control via mobile apps, schedule programming or integration with certain automation systems.
They are generally installed as modules or relays connected to the electrical circuit, whilst control commands can be transmitted wirelessly.
There are models designed to work with conventional switches and push-buttons, allowing certain existing circuits to be adapted for smart control.
These solutions include Wi-Fi switches compatible with push-buttons and RF controls, as well as modules that enable a push-button to be converted into a relay-based control system.
Before installing them, it is important to check their power requirements, connection options and compatibility with light fittings.
ⓘ Illustrative contextual content generated or edited using AI (Art. 50 AI Act).
Wireless receivers for lighting
Wireless receivers are devices responsible for receiving commands from a compatible push-button, remote control or controller and activating the lighting circuit.
Although they may form part of a Wi-Fi or radio-frequency system, it is important to distinguish them from wireless push-buttons themselves.
Their function is to execute the command received, for example, by switching the power supply to a light fitting on or off.
Some models allow lighting to be controlled via a conventional switch and other compatible devices, making it easier to incorporate new control options.
In this type of installation, the push-button switch can operate without an electrical connection, but the receiver normally requires a power supply and a suitable connection to the circuit.
Therefore, installation must be carried out in accordance with the manufacturer’s diagram and by a qualified professional whenever it is necessary to modify the fixed wiring.
ⓘ Illustrative contextual content generated or edited using AI (Art. 50 AI Act).
Wireless remote controls for lighting
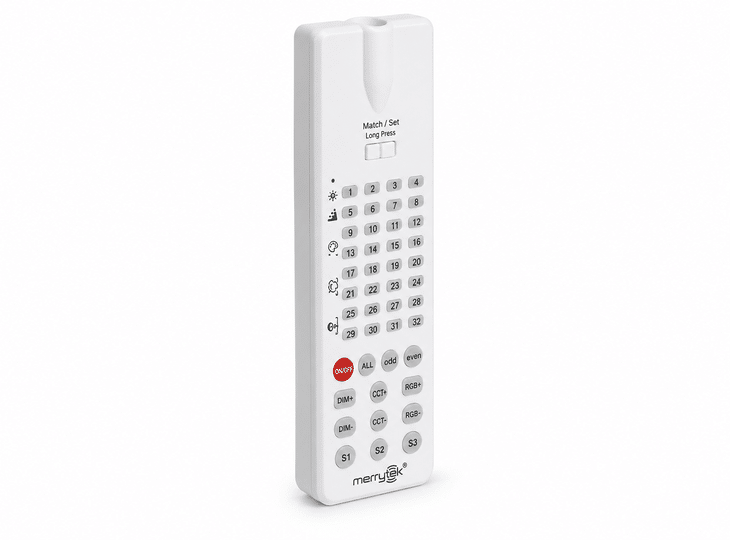
Another option is remote controls, designed to manage compatible light fittings or receivers without the need to install a fixed wall-mounted switch.
Depending on the model, they may include functions such as switching lights on and off, selecting zones, dimming, or setting up different lighting scenes.
They are particularly handy when you want to control the lighting from different points within a room or when it is more convenient to use a portable device.
Installation usually involves simply inserting the batteries, where required, and pairing the device with the corresponding receiver or lighting system.
However, it is important to check that the remote control is compatible with the equipment you wish to control, as not all wireless devices use the same communication protocol.
ⓘ Illustrative contextual content generated or edited using AI (Art. 50 AI Act).
What you need to install a wireless switch
The materials required to install a wireless switch depend on the system chosen, the type of lighting you wish to control, and whether a receiver needs to be incorporated into the electrical circuit.
In systems that include a wireless control and a compatible receiver, both devices may be sold as a set, which makes installation easier and avoids the need to select the components separately.
On the other hand, Wi-Fi control modules allow wireless control functions to be added to certain existing installations, although their installation may require work on the electrical wiring.
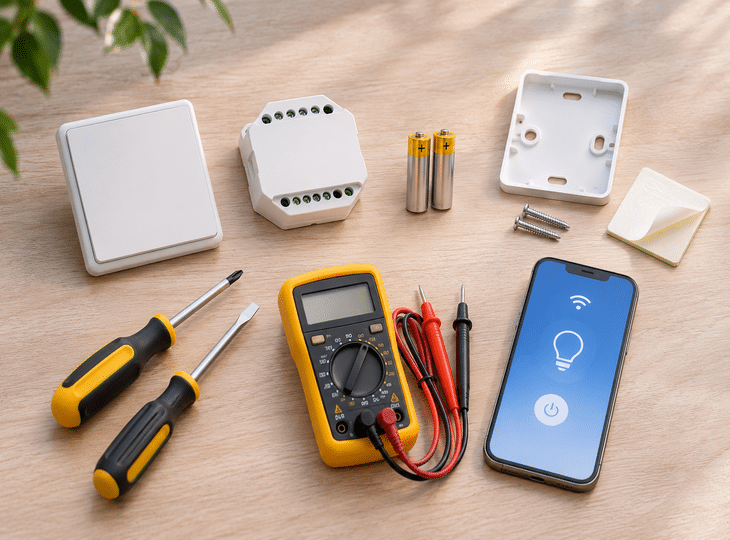
The most common components are:
- Wireless switch or control: a device used to send on and off commands.
- Receiver or control module: responsible for receiving commands and controlling the lighting when the system requires it.
- Compatible batteries: required to power certain wireless controls or push-buttons.
- Mounting brackets, screws or adhesives: for fixing the switch in the desired position, in the case of a wall-mounted model.
- Installation tools: such as suitable screwdrivers for securing the components.
- Electrical testing equipment: required for work on the circuit, which must be carried out by a qualified professional.
- Mobile phone or configuration device: where the Wi-Fi or smart system requires an app for commissioning.
Before purchasing the components, it is important to check the supply voltage, the maximum power rating of the receiver and compatibility with the light fittings to be controlled, particularly when using LED lighting systems.
It is also advisable to check whether the device requires a separate receiver or whether this is already included in the package.
ⓘ Illustrative contextual content generated or edited using AI (Art. 50 AI Act).
Step-by-step guide to installing a wireless switch
The process for installing a wireless switch depends on the system chosen. Some models use a radio-frequency remote control that communicates with a receiver, whilst others incorporate Wi-Fi modules to control the lighting via an app or using compatible switches.
Although the procedure may vary depending on the manufacturer, there are a number of general steps to help you prepare for installation, set up the devices and check that they are working properly.
Step 1. Choose the switch’s location
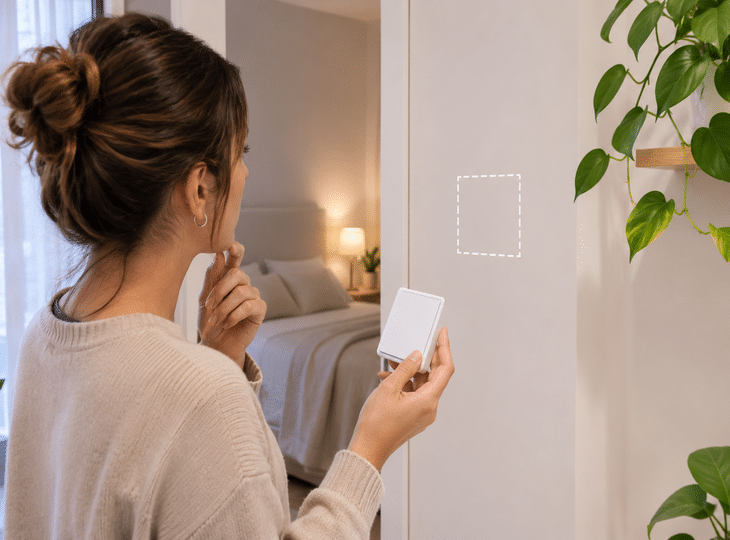
The first step is to decide where you want to control the lighting from.
One of the main advantages of wireless systems is that they allow you to add control points without having to run electrical wiring to each new location.
In models with a wireless wall-mounted push-button, this can be positioned next to a door, near the bed or in a high-traffic area. By contrast, systems with a handheld remote control allow you to control the lighting without having to fix the transmitter in a specific location.
To choose the right location, you need to consider the distance to the receiver and any potential obstacles that might reduce the signal range.
Thick walls, metal structures and certain building elements can interfere with wireless communications.
It is therefore advisable to carry out a test run before permanently installing any device.
ⓘ Illustrative contextual content generated or edited using AI (Section 50 of the AI Act).
Step 2. Check system compatibility
Before installation, it is essential to check that the devices can communicate correctly with one another and that they are compatible with the lighting system.
In radio-frequency systems, this check includes verifying compatibility between the remote control and the receiver, as using the same frequency does not guarantee that the two devices can pair.
For Wi-Fi modules, the connection requirements, the compatible app and the options for integration with conventional switches or push-buttons must be checked.
It is also important to check the supply voltage, the maximum power rating and the electrical specifications of the connected light fittings.
This check is particularly important when using LED drivers, electronic power supplies or dimming systems, which may have specific compatibility requirements.
Step 3. Prepare the receiver or control module
Where the system requires a receiver or control module, it is necessary to determine where it will be installed within the lighting circuit.
Depending on the model and the characteristics of the installation, it can be fitted in a switch box, a junction box or a suitable compartment for electrical equipment.
Some Wi-Fi modules are specifically designed to be fitted behind a conventional switch or push-button, allowing smart control functions to be incorporated without necessarily replacing the existing switch.
Before installation, the device’s dimensions, the available space and the installation conditions specified by the manufacturer must be checked.
It is also important to ensure that the module is correctly housed and that the electrical connections are protected by a suitable enclosure.
Step 4. Connect the receiver to the lighting circuit
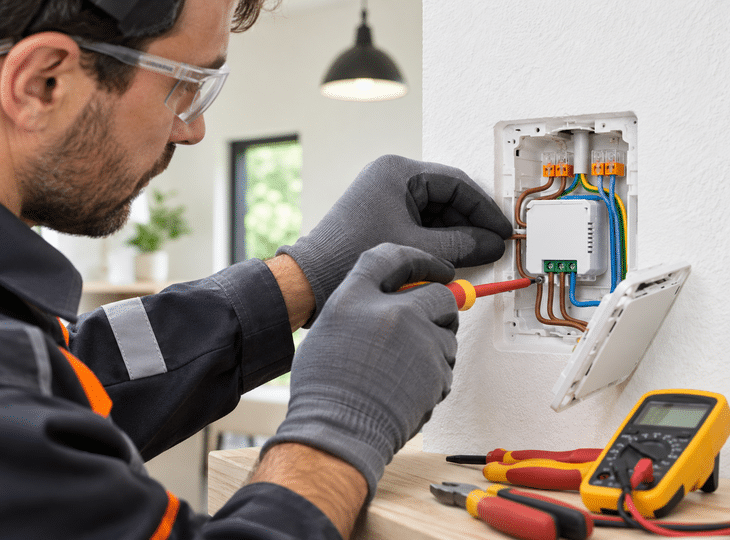
In systems requiring a wired receiver, the connection must be made in accordance with the manufacturer’s specific wiring diagram.
The procedure depends on the device’s specifications and the existing installation. Some modules require power via the live and neutral wires, whilst others have different configurations.
Furthermore, certain receivers incorporate potential-free contact outputs, whilst others use powered outputs. These differences determine how the device must be integrated into the circuit.
For this reason, there is no single connection diagram that applies to all wireless switches.
The installation or modification of fixed wiring must be carried out by a qualified installation company. Before carrying out any work, the circuit must be disconnected, measures taken to prevent accidental reconnection, and the absence of voltage verified.
Once the connections have been made, you must also check that the wires are securely fastened and that the connected load is within the limits specified by the receiver.
ⓘ Illustrative contextual content generated or edited using AI (Art. 50 AI Act).
Step 5. Fit the push-button or set up the wireless remote control
Once the receiver has been installed, the next step is to set up the device from which the lighting will be controlled.
If you are using a wireless wall-mounted push-button, it can be fixed in place using the brackets, screws or adhesive pads provided by the manufacturer.
Adhesive mounting is particularly practical when you wish to avoid drilling into the wall, provided the surface is suitable. Installation using screws, on the other hand, can provide a more secure hold in areas subject to frequent use.
Before drilling, you must check that there are no hidden electrical cables or pipes at the chosen location.
With systems featuring a portable remote control, it is not usually necessary to fix the device in place. Simply set up the device by following the manufacturer’s instructions.
If the device is battery-operated, the batteries must be inserted with the correct polarity or the insulating tab removed where necessary.
In the case of Wi-Fi modules compatible with conventional switches, the control unit can remain in its original position, provided the system supports this configuration.
Step 6. Pair the switch with the receiver
After installing the components, you will need to set up communication between the devices where required by the system.
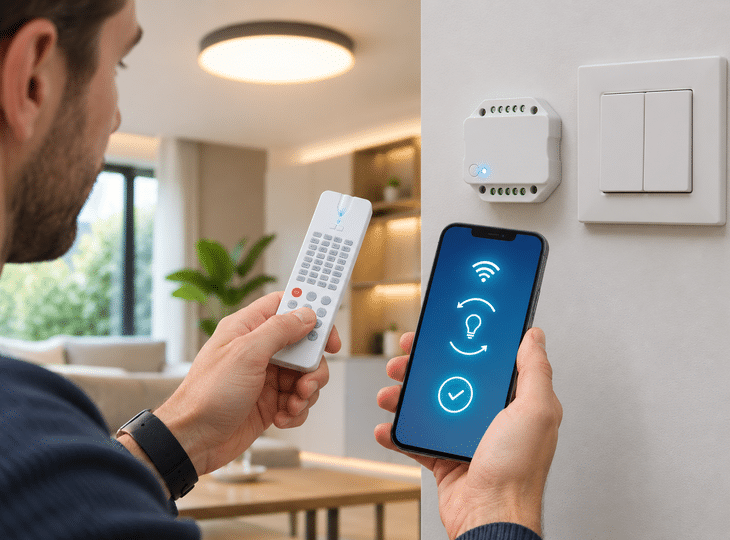
In radio-frequency systems, the procedure usually involves activating the receiver’s pairing mode and registering the signal from the compatible remote control or push-button.
For Wi-Fi devices, configuration can be carried out using a mobile app, following the instructions to connect the module to the wireless network.
Some models allow you to combine different control methods, such as conventional push-buttons, RF remote controls and mobile apps.
In such cases, each function may require a different configuration procedure.
It is also worth checking whether the system allows you to pair several remote controls with the same receiver or to control different devices from a single control point.
ⓘ Illustrative contextual content generated or edited using AI (Art. 50 AI Act).
Step 7. Check that it is working properly
Once installation is complete and the power supply has been restored by the professional where applicable, it is important to check that the system is working correctly.
Firstly, you should check that the light fitting responds to the on and off commands sent from the remote control or wireless push-button.
It is also advisable to carry out several tests from different locations to check that the signal is reaching the receiver correctly.
If the system includes Wi-Fi control, you should check that the functions available in the app work as intended.
In installations that combine a conventional switch with a smart module, you should also check that both control methods are working correctly.
Finally, check for any abnormal behaviour, such as intermittent switching, excessive delays, connection losses or pairing difficulties.
Carrying out these checks enables the detection of any potential configuration or compatibility issues before the installation is finalised.
Common problems when installing a wireless switch
Although wireless switches make it easier to control lighting, problems may arise relating to communication between devices, component compatibility or configuration.
Below, we outline the most common faults and how to identify them.
The wireless switch is not responding
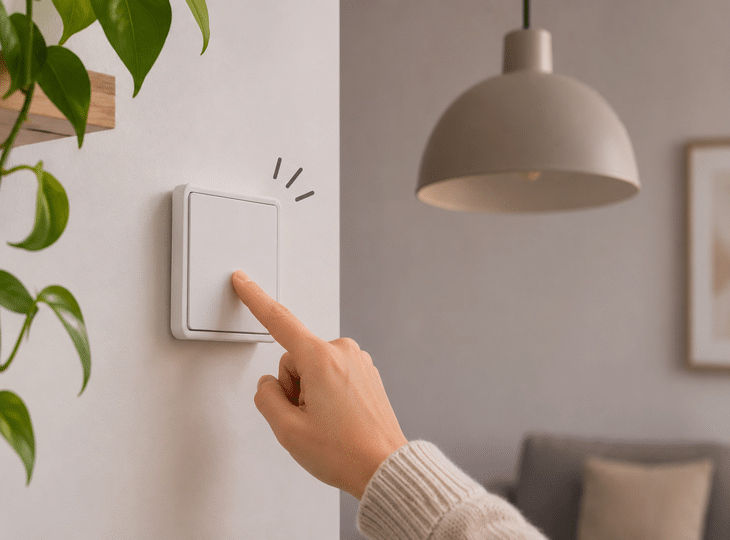
If the switch fails to turn the lights on or off, the first thing to do is check that the remote control or push-button is correctly paired with the receiver.
For battery-operated models, you should also check the condition and positioning of the batteries. If you are using a Wi-Fi module, it is advisable to check that it appears as connected in the relevant app.
If the problem relates to the receiver’s electrical connections, the inspection must be carried out by a qualified professional.
ⓘ Illustrative contextual content generated or edited using AI (Art. 50 AI Act).
The switch only works at close range
If the device works when close to the receiver but stops responding as you move away, there may be a problem with the signal range.
Thick walls, metal structures and certain types of interference can hinder wireless communication.
To resolve this, check the maximum range specified by the manufacturer and, where possible, reposition the remote control or receiver.
The LED light flashes or does not switch off completely
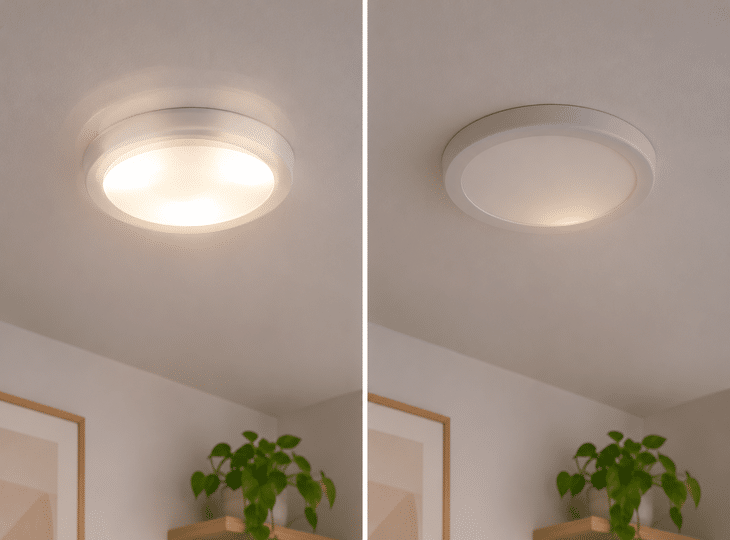
If the LED light flickers or remains slightly lit after being switched off, there may be a compatibility issue between the control module and the lighting system.
These issues may be related to the characteristics of the receiver, the LED driver or the dimming system used.
In such cases, it is important to check the specifications of the devices and consult a professional to inspect the installation if necessary.
ⓘ Illustrative contextual content generated or edited using AI (Section 50 of the AI Act).
The switch loses its connection or settings
In Wi-Fi systems, connection problems may arise that prevent the lighting from being controlled correctly via the app.
To identify the cause, you should check that the wireless network is working, that the device remains connected and that the settings are correct.
If the manufacturer provides this option, it may also be necessary to re-pair the device or check for available firmware updates.
A practical solution for controlling lighting with greater flexibility
Installing a wireless switch allows you to add new lighting control points without having to run wiring to each location. Both radio-frequency control systems and Wi-Fi modules offer various options for tailoring the switching on and off of lights to the needs of each space.
To ensure a safe installation and reliable operation, it is essential to choose compatible devices, check the specifications of the electrical circuit and follow the manufacturer’s instructions. With the right choice of components, wireless switches become a versatile option for enhancing comfort and modernising lighting control in homes and commercial premises.