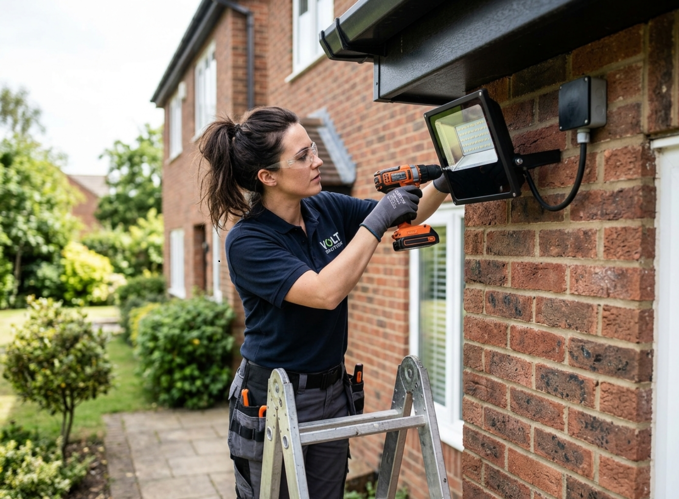
Installing an LED floodlight correctly is key to getting the most out of its power, as well as significantly improving the lighting of any space. Proper installation increases safety and protects your investment in the long run. In this complete guide you will find how to install your LED floodlight in detail, from choosing the ideal location and height to technical tips.

Table of Contents
Why install a LED floodlight?
Using an LED floodlight is a practical solution for outdoor lighting. Compared to other technologies, these devices allow energy savings of up to 80%, which translates directly into a significant reduction in electricity bills. In addition, they have a lifespan of more than 30,000 hours, which reduces the need to replace your model frequently. In addition, they have a high light output, capable of illuminating large surfaces, improving both visibility and safety in outdoor spaces.
Another key aspect is their low maintenance, as they are designed to operate for long periods with little or no intervention. In addition, outdoor LED floodlights usually incorporate IP65 or higher protection levels, which guarantees their resistance to rain and other adverse weather conditions. Thanks to all these advantages, they become an ideal solution for multiple applications, such as the garden lighting, facades, garages, industrial buildings or security areas.
Recommended products
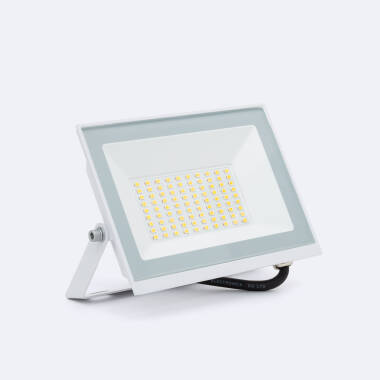
In Stock, delivery in 16-21 days
5.29 £
S3 30W LED Floodlight 120lm/W IP65
View product
In Stock, delivery in 15-20 days
2.99 £
S3 10W LED Floodlight 120lm/W IP65
View product
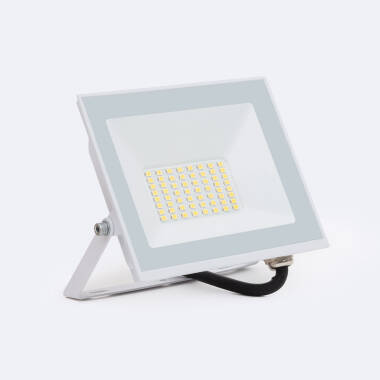
In Stock, delivery in 24/48h
7.19 £
S3 50W LED Floodlight 120lm/W IP65
View product
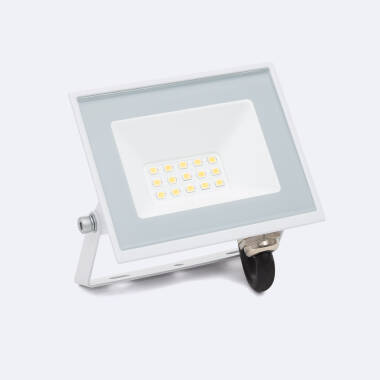
In Stock, delivery in 24/48h
3.99 £
S3 20W LED Floodlight 120lm/W IP65
View product
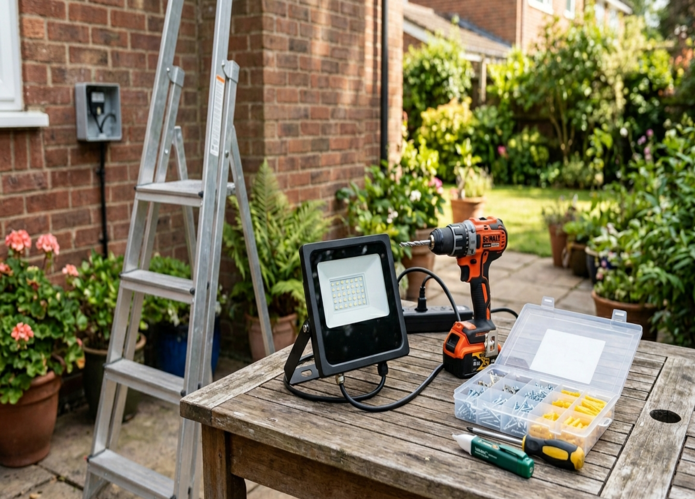
Materials required for installation
Before starting to install aLED floodlight, it is essential to have all the right materials and tools for a safe installation:
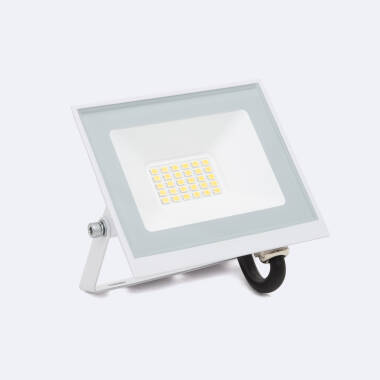
- LED floodlight: It is important to choose a model with IP65 protection rating or higher, as this ensures resistance against dust and water. In addition, you must take into account the power, the opening angle and the color temperature according to the use you are going to give it.
- Suitable power cable: The most common is to use a three-conductor RV-K cable with a 1.5 mm² section, although this may vary depending on the power of the projector and the distance. For outdoor use, it is recommended that the cable has additional protection against moisture and UV radiation.
- Watertight junction box: It is essential to protect the electrical connections. It must be watertight to prevent the entry of water or dust, which could cause electrical failures. It is a key element in any outdoor installation.
- Screws and plugs: They allow to fix correctly the floodlight to the surface where it is going to be installed. It is important to choose ones suitable for the type of material to ensure a firm and secure hold.
- Drill: It is necessary to drill the holes where the plugs and screws will be placed. Depending on the surface, it may be necessary to use specific drill bits.
- Screwdriver: It is used to fix the screws and to make connections in electrical terminals. It can be manual or electric, although the latter speeds up the work in larger installations.
- Voltage detector: Used to check if there is current in the cables before handling them, avoiding possible electric shocks.
- Watertight connectors: These are devices designed to make the connection between the floodlight cable and the power line watertight. Use IP65 certified connectors and avoid the use of insulating tape.
- Ladder: If you are going to install the LED floodlight at a certain height, you will need a stable and safe ladder. Make sure it is well supported and, if possible, have help for safety during installation.
Here you can find different LED floodlight accessories such as brackets, capacitors and drivers, which facilitate the installation and allow an optimal performance.
How to install a LED floodlight step by step
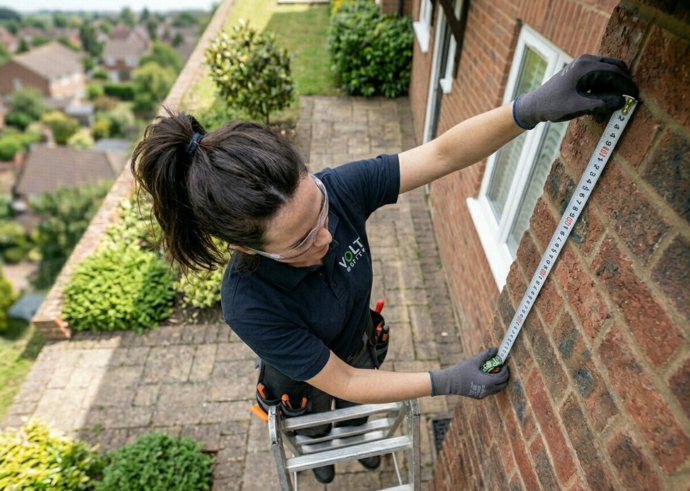
- Choosing the right location:
This is one of the most important steps, as the effectiveness of the lighting depends on it. Ideally, it should be placed in strategic areas that really need light, such as entrances or dark areas of the garden, where it can also provide extra security. It is also essential to take into account the beam angle of the LED floodlight to cover as much of the area as possible without creating unnecessary shadows, and to avoid pointing it towards places where it might cause direct glare, such as windows.
- Switch off the power supply:
Before starting the installation, it is essential to switch off the power supply at the fuse box. This basic safety measure prevents electric shocks and potential accidents whilst handling the cables.
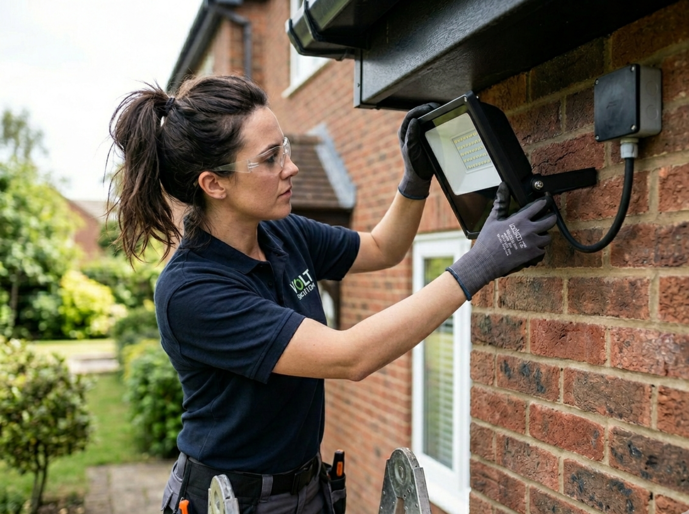
- Securing the floodlight bracket:
To secure the LED floodlight, first mark out the exact positions where the bracket will be fitted. Next, drill into the surface and insert the appropriate wall plugs for the type of material. Finally, screw the bracket in place firmly, ensuring it is completely stable, as a secure mounting is essential to prevent vibrations or potential falls that could damage the equipment and compromise safety.
- Making the electrical connection:
The floodlight usually has three electrical cables: live, neutral and earth, which must be connected correctly within the waterproof connector or junction box. It is essential that all connections are properly insulated to prevent short circuits or the ingress of moisture, thereby ensuring safe operation.
- Adjusting the floodlight’s angle:
Once the floodlight has been installed, it is important to adjust its angle to maximise the effectiveness of the lighting. Tilt the floodlight to suit the area you wish to illuminate, ensuring that the surface is fully covered. In addition, carefully adjust the angle to avoid unnecessary shadows or glare that could affect visibility or disturb people in the vicinity.
- Restore the power supply and test:
Once the installation is complete and all connections have been made, it is time to restore the power supply from the main switchboard. Carry out this step with care, ensuring that all cables and connections are properly insulated. After switching on the power, check that the LED floodlight is working correctly.
At what height should a LED floodlight be installed?
Determining the correct height to install a LED floodlight is important to achieve the correct illumination in any space. Depending on the use and size of the area, it is recommended to install it at different heights:
- Surfaces with 10 m²: from 2 to 3 meters.
- Surfaces with 20 m²: 4 to 6 meters
- Surfaces with 50 m²: 5 to 7 meters
- Surfaces with 100 m²: 8 meters
By choosing the right height you can maximize the power of the floodlight and ensure that the light reaches where it is needed without creating unwanted shadows. An important professional tip is that, although installing the floodlight at a higher height increases the illuminated surface, the luminous intensity on the floor decreases, so it is necessary to find a balance between coverage and brightness according to the needs of the space.
Key tips for installing a LED floodlight correctly
It is important to keep in mind these professional tips that will help you maximize the illumination:
- Always use projectors with IP65 or higher protection for outdoors: This rating ensures that the projector resists the entry of water and dust, preventing damage from moisture or external particles, which prolongs the life of the equipment.
- Avoid directing the floodlight directly towards windows or neighbors: Placing the floodlight at the wrong angle can cause glare and discomfort, affecting people’s comfort and coexistence in the environment.
- If possible, install a model with motion sensor to save energy: Motion sensor floodlight only turn on when motion is detected, reducing power consumption and increasing energy efficiency.
- Use outdoor-rated wiring: It is essential to use wiring with insulation that is resistant to moisture, UV rays and temperature changes to ensure a long-lasting installation in outdoor environments.
Common mistakes when installing a LED floodlight
When installing a LED floodlight, even small oversights can affect its performance and safety. Knowing the most common mistakes will allow you to avoid them, ensuring that the installation is stable:
- Installing it too low: Placing the projector at an insufficient height can generate glare, unwanted shadows and a limited coverage area, decreasing lighting efficiency.
- Not using watertight box: Omitting the watertight junction box exposes electrical splices to moisture and dust, increasing the risk of premature floodlight failure.
- Connecting cables incorrectly: Improper wiring can cause failure or permanently damage the floodlight.
- Choosing too little power for large areas: Selecting a floodlight with insufficient power means that the light does not cover the surface properly.
- Failure to secure the bracket properly: A poorly secured bracket can cause the floodlight to shift or even fall, which can damage the equipment and pose a risk to people nearby.
What power to choose for a LED floodlight
Choosing the power of the LED floodlight is an important factor to consider to ensure proper lighting according to the size of the area and the use it will be put to.
| Power | Surface area | Recommended Lumens | Installation Height |
| 10W – 20 W | 10 m² | 1.200–2.400 lm | 3 m |
| 20W – 30 W | 10-20 m² | 2.400–3.600 lm | 4-6 m |
| 30W – 50 W | 20-40 m² | 3.600–6.000 lm | 4-6 m |
| 50–80 W | 40-70 m² | 6.000–9.600 lm | 5-7 m |
| 80–120 W | 70–100 m² | 9.600–14.400 lm | 6-8 m |
| 150 W+ | 100 m² o más | 18.000+ lm | 8+ m |
Optimum visibility and avoid unnecessary energy consumption can be achieved with the right wattage. Combining the right wattage with the right mounting height will ensure that your outdoor lighting system is efficient and safe.