A ceiling fan is an excellent ally to combat the heat and, in addition, they are easy to install. Follow the steps in the video below for a hassle-free installation and enjoy a cooler environment at home.

Step-by-step guide to install a ceiling fan
Here we have a summary of the main steps to mount a ceiling fan in a simple way:
Step 1: Gather tools and materials
The first thing to do is to make sure we have all the tools and materials needed for the installation on hand.
It is very important to remember that whenever we are going to manipulate the cables of an electrical installation we must make sure that there is no current flowing through it.
For the installation of one of our models of ceiling fan you need:
- Pencil
- Screw machine
- Phillips screwdriver
- Small flat screwdriver
- Cutting pliers
- Drill and drill bit (if necessary for our type of roof)
- Wrench wrench
- Dowels and anchors suitable for our type of ceiling
- The fan we are going to install
The fan kit normally includes all the necessary parts for its operation:
- Fan blade
- Blades
- Motor trim
- Screws and washers
- Controller
- Handle
- Extension bar
- Mounting bracket
- Remote control
- Trim
- Balancing kit
- Splice terminals
- PCB
- Light
- Motor
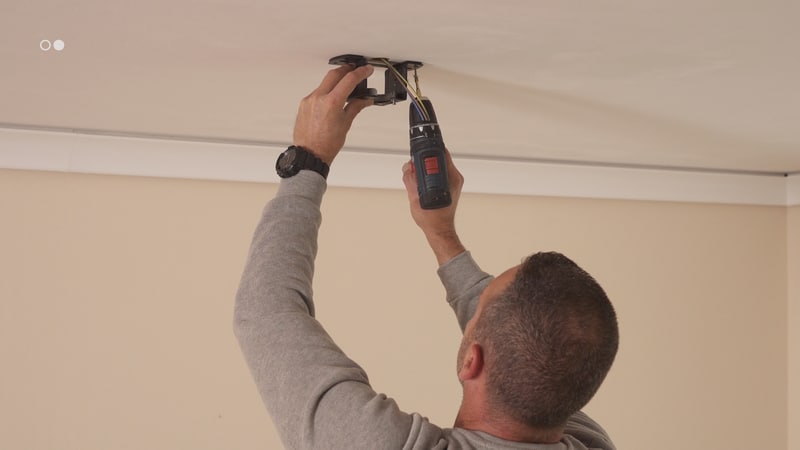
Step 2: Fasten the fan bracket to the ceiling
The type of ceiling is key to determine how we should anchor the fan to the ceiling. Depending on whether we make the installation in false ceiling, wood or concrete. The process is slightly different. Remember that the most important thing is to use the appropriate dowels and anchors for each type of surface.
For concrete ceiling:
- We mark the location of the bracket on the ceiling.
- Use the drill and drill bit to drill holes in the marks.
- Place the wall plugs with metal screws in the holes.
- We fix the bracket to the ceiling on the wall plugs.
- Place the washers and tighten the screws.
For wooden ceiling:
- We mark the location of the bracket on the ceiling.
- We fix the bracket to the ceiling with the corresponding screws and washers.
For false ceilings:
- We mark the location of the bracket on the ceiling.
- Use the drill and drill bit to drill holes in the marks.
- Place the rockers in the holes.
- Attach the bracket to the roof over the rockers.
- Place the washers and tighten the screws.
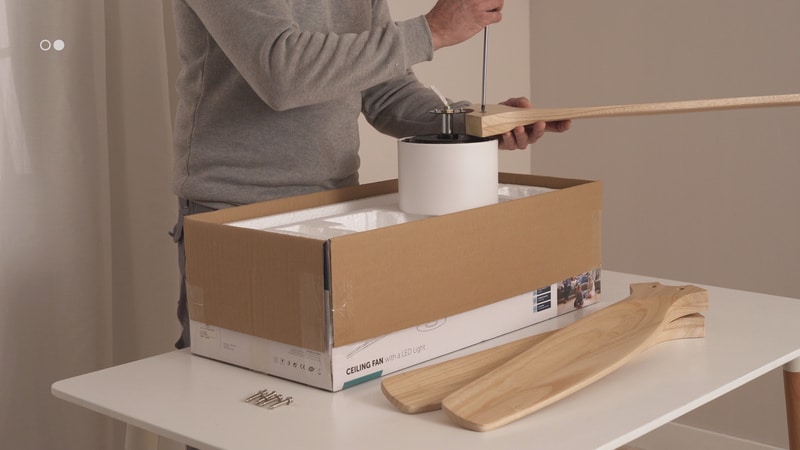
Step 3: Mount the fan
- We choose the height at which we want to install the fan and adjust the post accordingly.
- Mount the bushing on the shaft, if necessary depending on the model.
- Attach the blades to the motor, following the kit instructions.
- Place the trim on the bottom of the motor.
- We mount the PCB and the ceiling plate according to the kit instructions.
- We mount the rosette on the upper part of the motor.
- Attach the motor to the seat post securely.
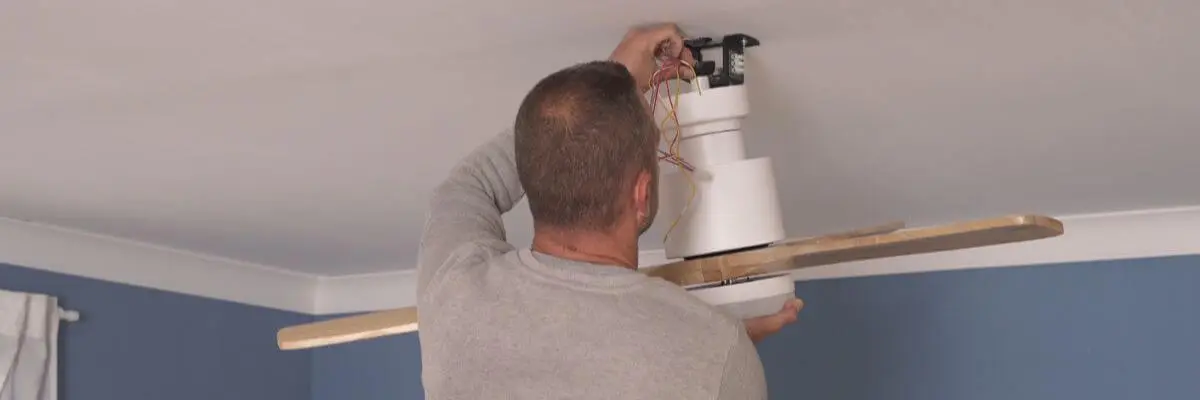
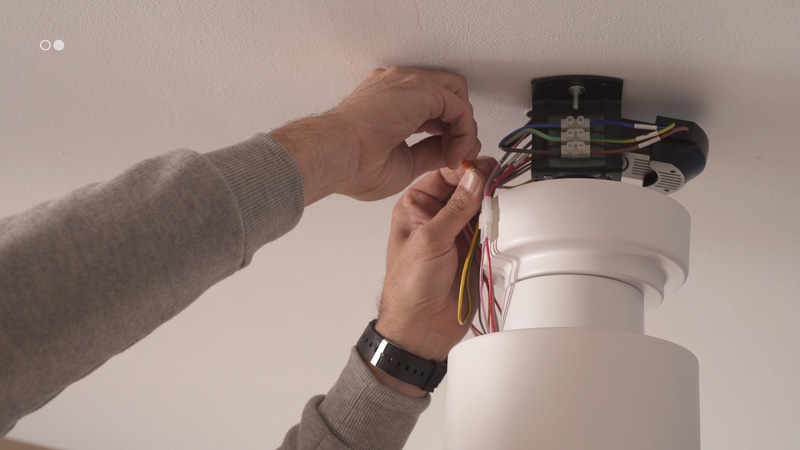
Step 4: Final installation and electrical connections
- We place the fan on the ceiling bracket and secure it.
- Secure the controller in an accessible location.
- Make the electrical connections following the instructions provided.
- Make sure all connections are secure and well insulated.
- Snap the trim into place.
That’s it! Now we have a ceiling fan installed and ready to keep us cool on hot days. If we are not sure about any step, it is advisable to consult a professional to ensure that the installation is safe and functional. Remember that through our customer service you can solve all your doubts.
Recommended products
In Stock, delivery in 16-21 days
61.99 £
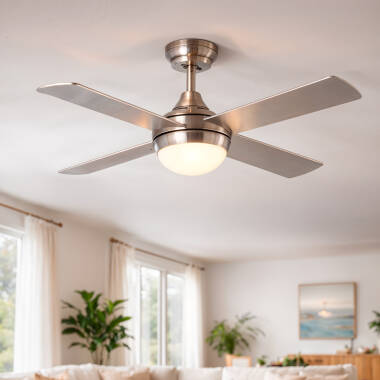
Navy Nickel Ceiling Fan 110cm
View product
In Stock, delivery in 15-20 days
43.99 £
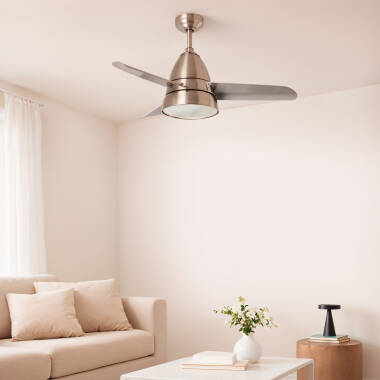
Industrial Silent Ceiling Fan with DC Motor Silver 91cm
View product

In Stock, delivery in 16-21 days
65.99 £
Navy LED Ceiling Fan Wood 110cm
View product
In Stock, delivery in 24/48h
20.79 £
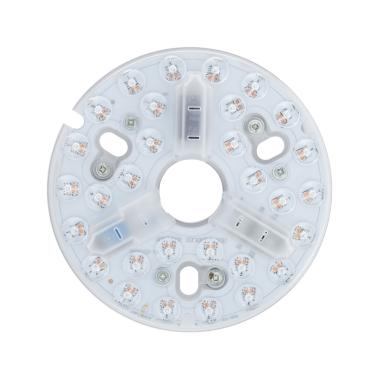
Spare Light for Ceiling Fan LED 15W 220V Selectable CCT PCB with Magnet
View product