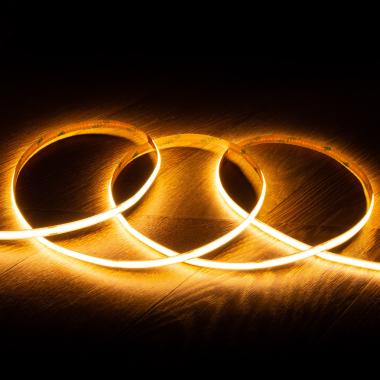
LED strips have become one of the most versatile lighting solutions in both homes and commercial spaces. However, when an LED strip does not illuminate correctly or stops working, it is normal to wonder what has happened and if there is a solution.

In this article we explain the most common causes and what to do in each case.
Table of Contents
Main reasons why a LED strip does not light up
When an LED strip lights fails to light up, the fault is not always in the diodes. These are the most frequent causes:
Recommended products
In Stock, delivery in 15-20 days
15.59 £
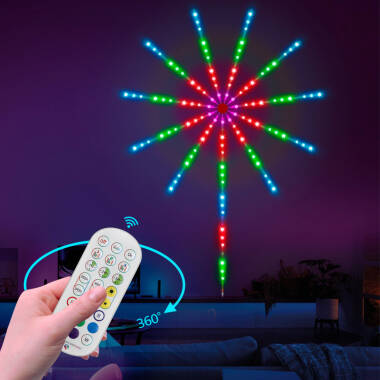
LED Strip Digital SPI in RGBIC KIT Firework Effects with APP and Remote Control
View product
In Stock, delivery in 16-21 days
179.99 £
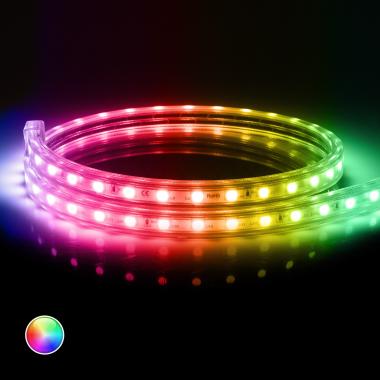
220V LED Strip Autorectified SMD Dimmable 120LED/m 10W/m 1000lm/m 12mm Wide Cut at Every 10cm IP65 Custom Length
View product
In Stock, delivery in 16-21 days
159.99 £
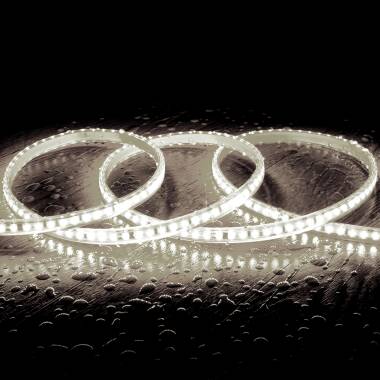
220V LED Strip SMD in RGB 60LED/m 10W/m 16mm Wide Cut at Every 100cm with IR Remote IP65 Custom Length
View product
In Stock, delivery in 24/48h
14.99 £
5m 24V LED Strip COB 320LED/m 10W/m 1000lm/m 8mm Wide Cut at Every 5cm IP20 CRI90
View product
Defective power supply
This is the most common reason. If the power supply does not supply the correct voltage (12V or 24V usually), the LED strip will not work.
It is important to check that the power supply is correctly connected to the mains and working normally. Also, check with a multimeter that it is delivering the correct voltage. Finally, make sure that the wattage is sufficient for the length of strip installed, as an insufficient power supply may cause failures or unstable operation.
Often the problem is not the LED strip, but an insufficient or faulty supply.
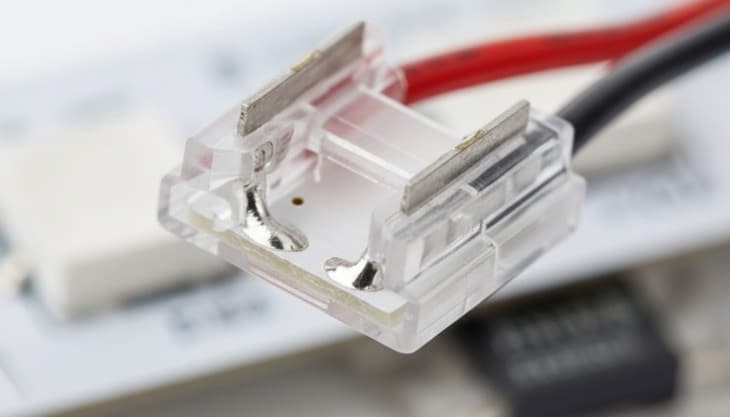
Loose or improperly installed connections
A bad contact in the connectors can cause it not to light up or to work only partially. Therefore, it is essential to check that the polarity is correctly connected, that the LED strip connectors are properly inserted and adjusted, that the soldering is in good condition and that the cuts have been made only in the areas indicated by the manufacturer. If you have any doubts during the process, we recommend that you consult our guide with tips on how to install a LED strip correctly, where we explain step by step how to avoid these types of errors and ensure a safe and durable installation.
Voltage drop
If the LED strip is long and is only powered from one end, there may be a loss of intensity at the end section, to avoid this problem, it is recommended to power the LED strip from both ends, thus ensuring uniform illumination and more stable operation.
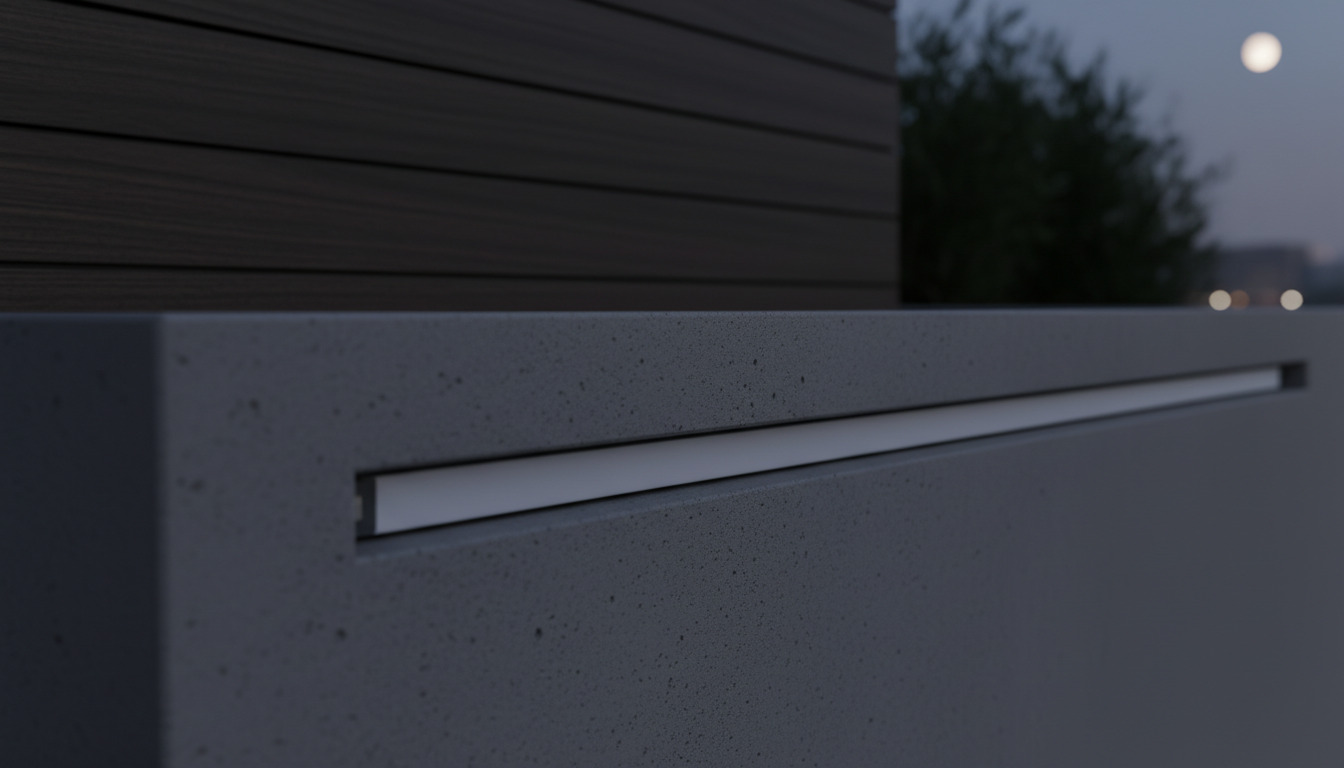
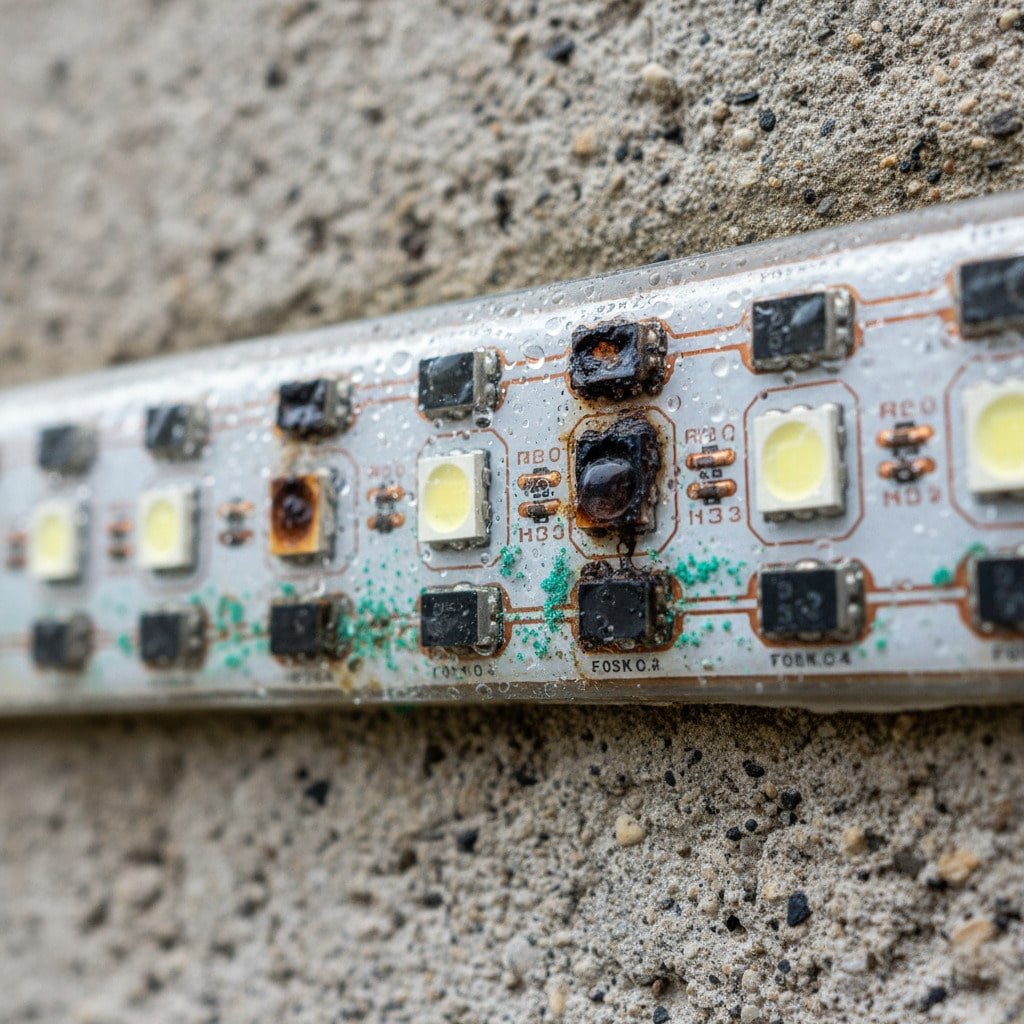
Exposure to moisture or overheating
When a LED strip is installed outdoors or in areas where moisture is present without an adequate degree of protection, water and dust can penetrate the circuit and cause corrosion or premature failure. Therefore, in wet or exposed environments, it is essential to choose outdoor LED strip models with IP65 or higher protection.
Likewise, overheating is another factor that shortens their service life. An installation without an aluminum profile or without proper heat dissipation can generate heat buildup, which progressively deteriorates the LED chips and the printed circuit, reducing their performance and causing loss of intensity over time.
How to know if a LED strip is damaged?
This is one of the most frequently asked questions.
To check if it is really damaged, you can look for several signs: if it does not light up even when connected to a properly functioning power supply, if blacked-out sections appear in specific areas, if the LED chips show dark spots, if the circuit board shows signs of burning, or if it continues to flicker after power supply problems have been ruled out.
In many cases, if the damage is localized, you can cut only the affected section and check if the rest continues to function normally, since LED strips are manufactured in separate sections.
How do you know if a LED strip is of good quality?
Not all LED strips are the same, here are the technical factors that determine whether a LED strip is of good quality:
| LED chip type | Recommended Use |
| SMD 2835 | High efficiency and lower power consumption |
| SMD 5050 | Higher power and RGB possibility |
| SMD 3528 | Basic decorative applications |
Higher efficiency LED chips provide higher lumens per watt, resulting in better light output and more stable operation over time.
| Protection factor | Location |
| IP20 | Indoor dry |
| IP65 | Outdoor or wet areas |
| Color Rendering Index (CRI) | A CRI between 80-90 |
| Certifications | Type |
| CE Certificate (Conformité Européenne) | This is a key indicator that the product complies with EU regulations and can be freely marketed in the European Economic Area. By bearing the CE marking, the manufacturer declares that it complies with all legal requirements. |
| RoHS Certificate (Restriction of Hazardous Substances) | Guarantees the restriction of the use of certain hazardous substances in electrical and electronic equipment. |
| Manufacturer’s warranty | It is the formal commitment that supports the quality and durability of the product for a certain period of time. |
In short, choosing a good quality LED strip does not depend only on price, but also on analyzing its technical characteristics and its suitability for the environment where it will be installed. Factors such as chip type, IP rating, color rendering index and different certifications are decisive in ensuring stable performance and durability.
Best practices to avoid problems with your LED strip
To ensure stable performance and prolong the life of your LED strip, it is advisable to follow a series of good practices during installation and use. First of all, always use a LED power supply with at least 20% more power than necessary, which will prevent overloads and possible failures. Also, do not keep the strip wound while it is on, as this can cause heat build-up and damage the components.
It is also essential to respect the maximum distances recommended by the manufacturer to prevent voltage drops and current losses. Finally, be sure to choose the appropriate IP rating for the location of the installation, especially in wet or outdoor areas.